With the release of the vRealize Cloud Suite 2019 8.6 releases across the board, I have been getting my vRealize environment upgraded in the home lab. One of the key components of the vRealize Cloud Suite is VMware Identity Manager. I have detailed before how to upgrade vRealize Operations Manager using vRealize Lifecycle Manager. However, today, I wanted to walk through the steps on how to upgrade VMware Identity Manager step-by-step and see what the process looks like, as well as a couple of little hiccups I ran into.
Upgrade VMware Identity Manager with vRLCM
The process to upgrade VMware Identity Manager is similar to the process to upgrade other solutions using vRealize Lifecycle Manager, such as vRealize Operations Manager. An overview of the process looks like the following:
- Download and copy the upgrade tar.gz file to vRLCM
- Add the upgrade file to the product binaries
- Run the upgrade process for VMware Identity Manager
1. Download and copy the upgrade tar.gz file to vRLCM
Download the VMware Identity Manager offline upgrade package from your VMware customer portal.
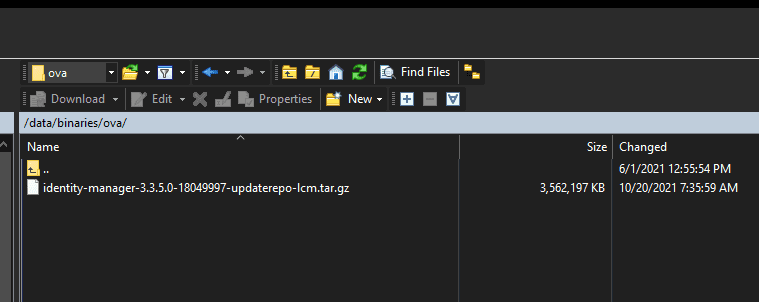
You can use something like WinSCP like I am using below to copy over the upgrade file. Note, to use vRLCM, you have to download the repo file that is noted to work with vRLCM.
2. Add the upgrade file to the product binaries
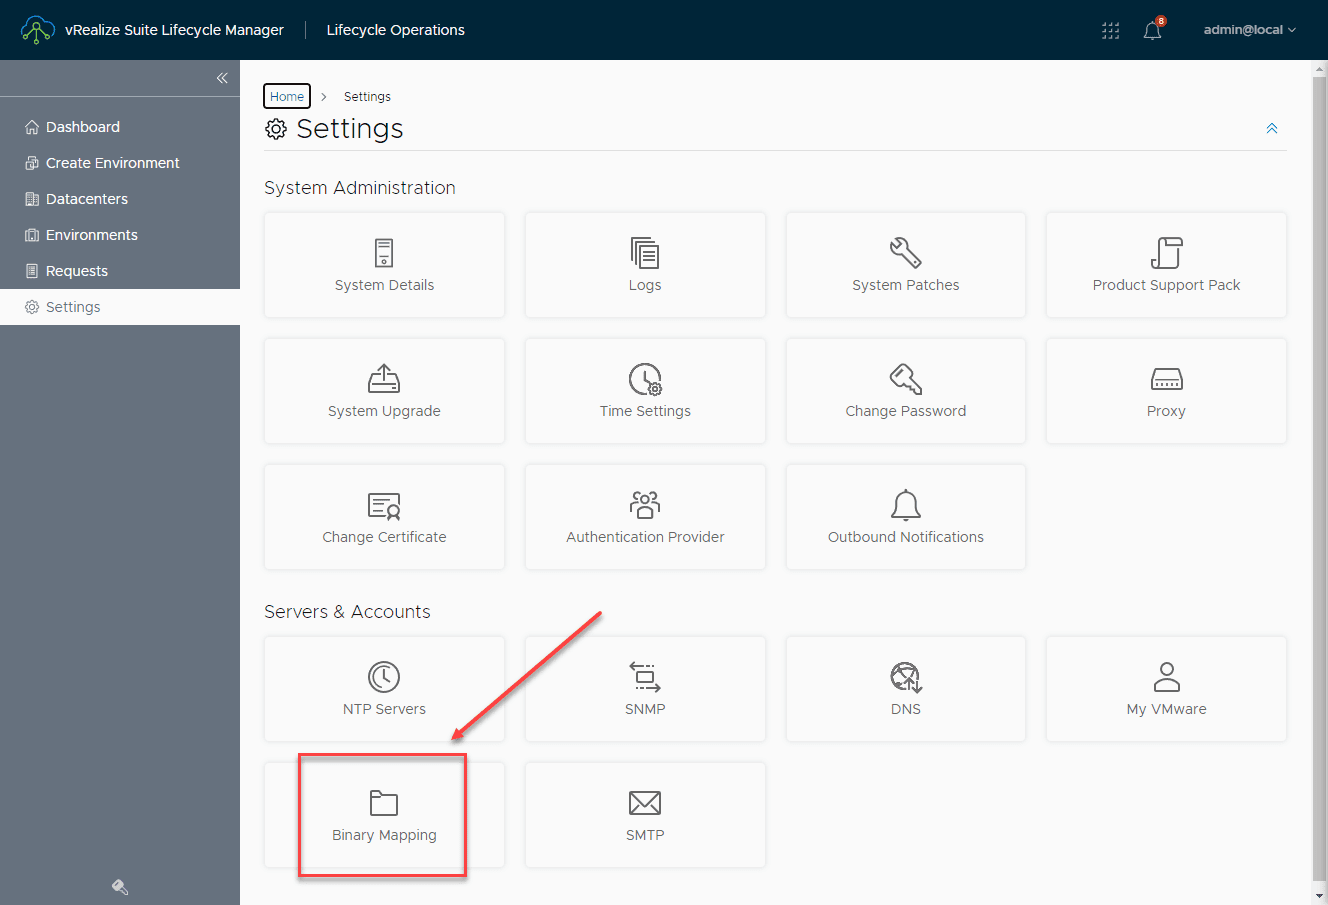
Now that the file has been uploaded, we have to add it at the application level in vRealize Lifecycle Manager. For that we need to create a Binary Mapping. Under Settings, click the Binary Mapping tile.
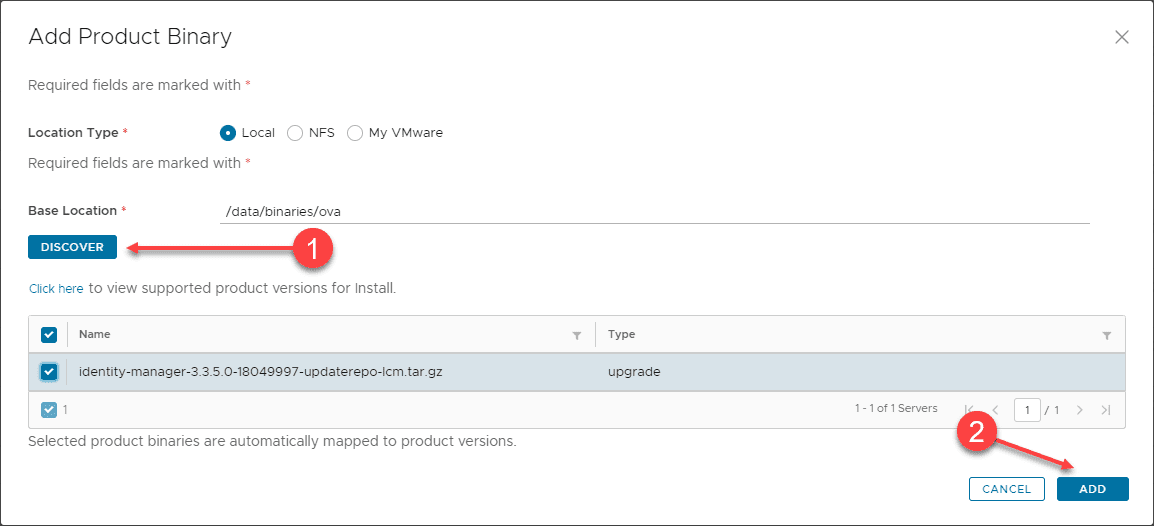
Enter the location of the upload, such as /data/binaries/ova. Click the Discover button. You should see your upgrade file listed. Then click Add.
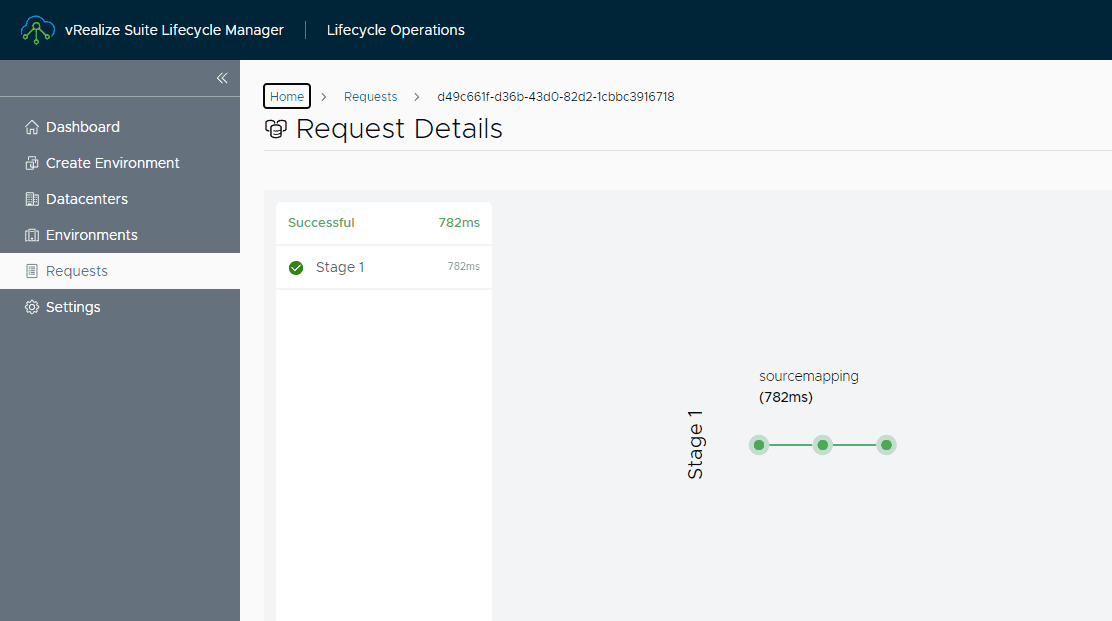
The request to add the source mapping will not take too long. You can click the Requests menu and see the progress of adding the upgrade file.
3. Run the upgrade process for VMware Identity Manager
Once the upgrade file is in place, the rest of the process is simply running the upgrade. I didn’t capture the screenshot of the upgrade button, however, if you navigate to your “globalenvironment” in vRealize Lifecycle Manager, you will see an Upgrade button. Click this button.
On the Proceed to Upgrade dialog box, you will need to Trigger Inventory Sync via the button. Once this has completed, click the Proceed button.
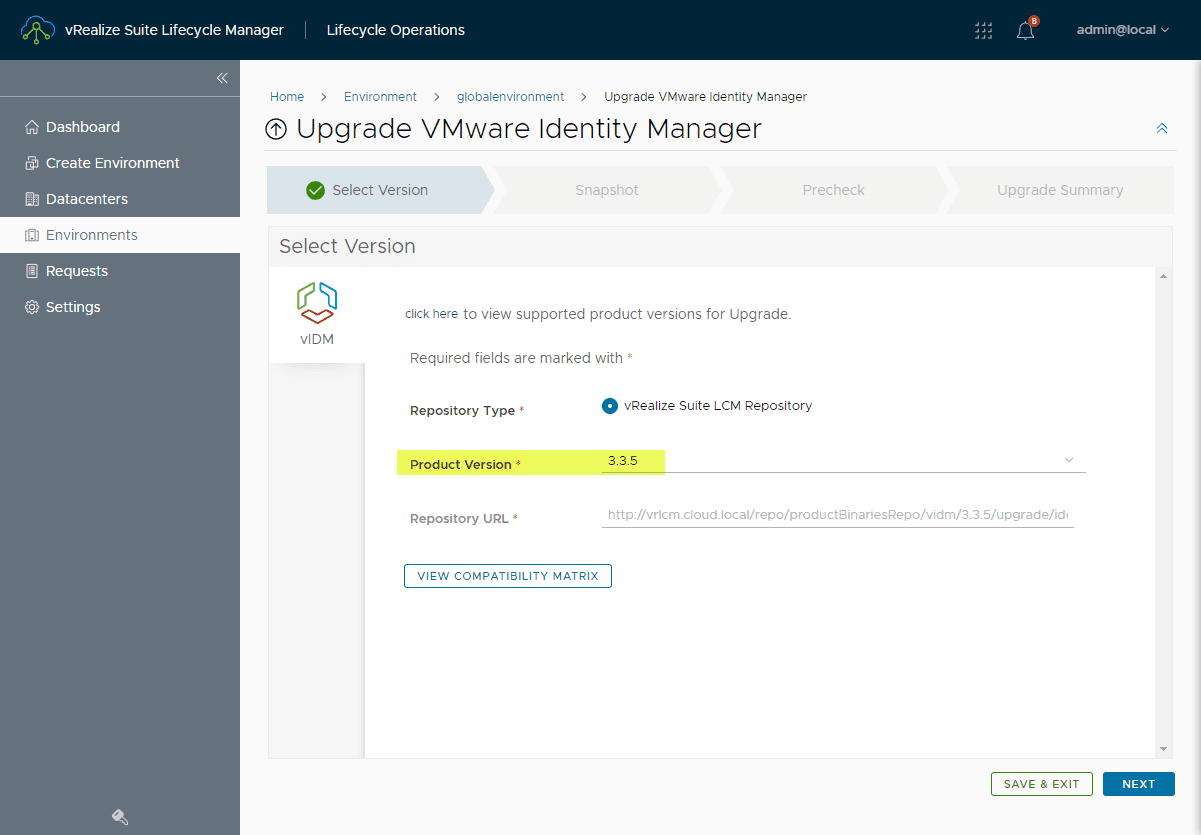
This begins the Upgrade VMware Identity Manager wizard. Set the Product Version to the appropriate version. Here, I am upgrading to 3.3.5. Click Next.
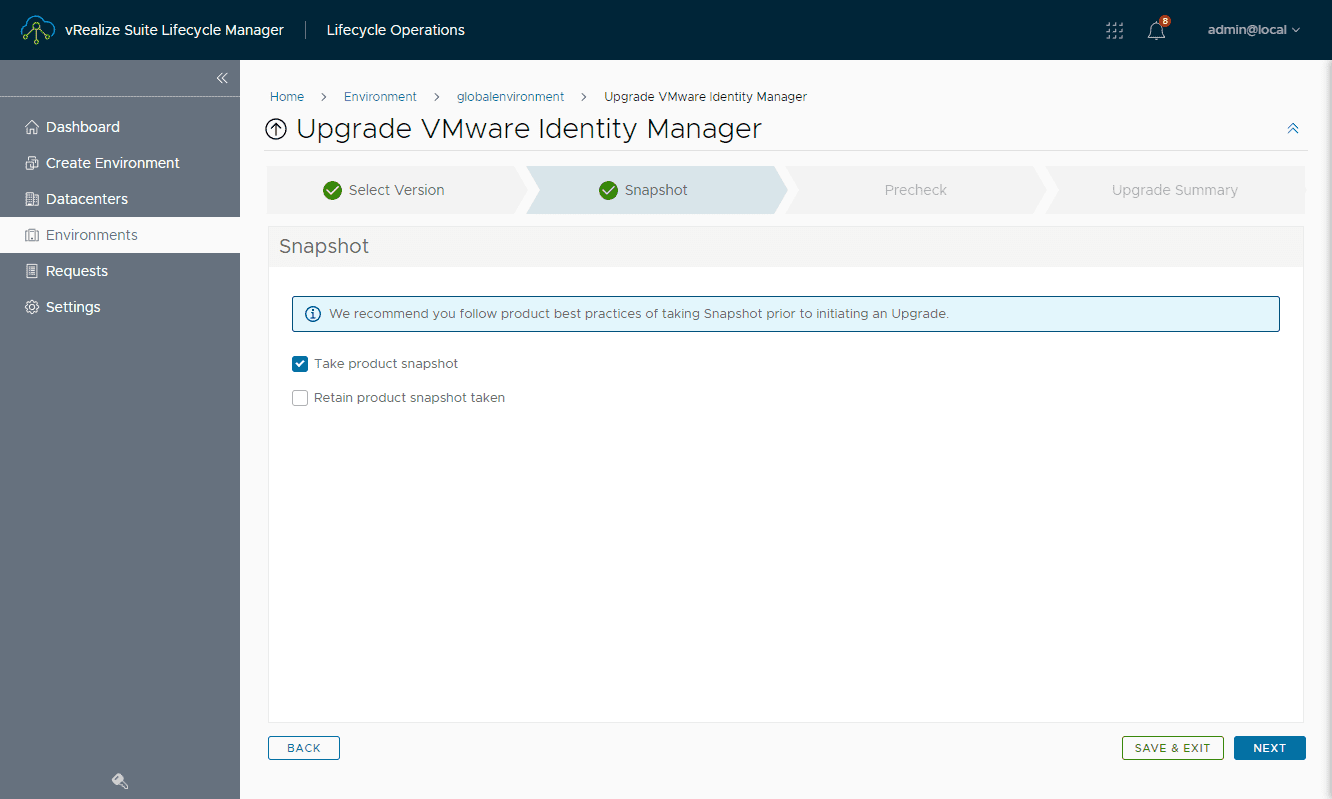
Click the Take product snapshot check box to have a snapshot automatically created.
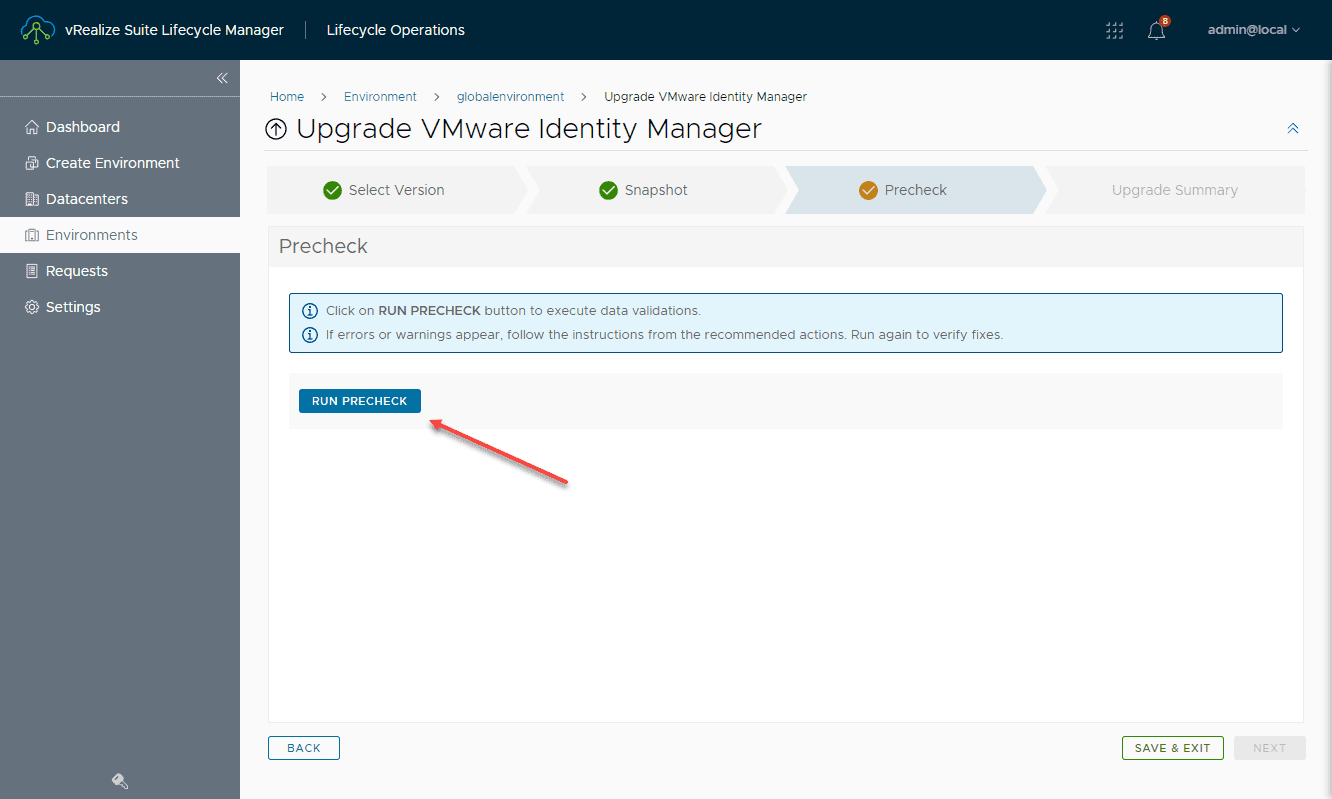
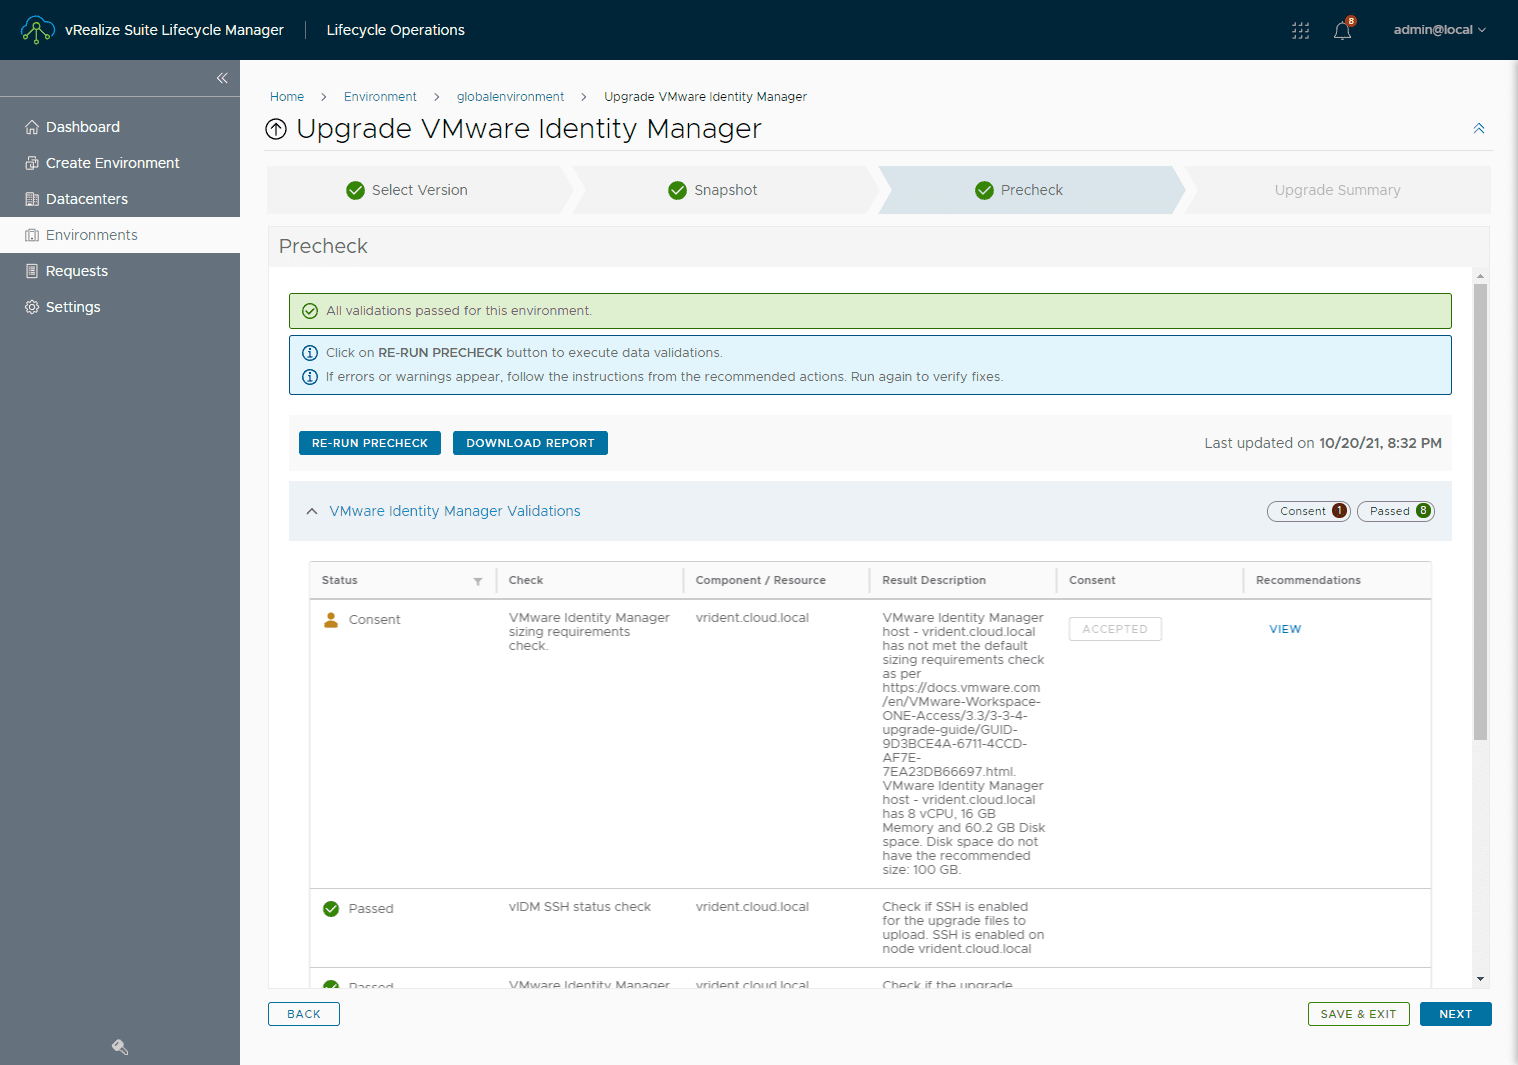
You must run the precheck before continuing with the update.
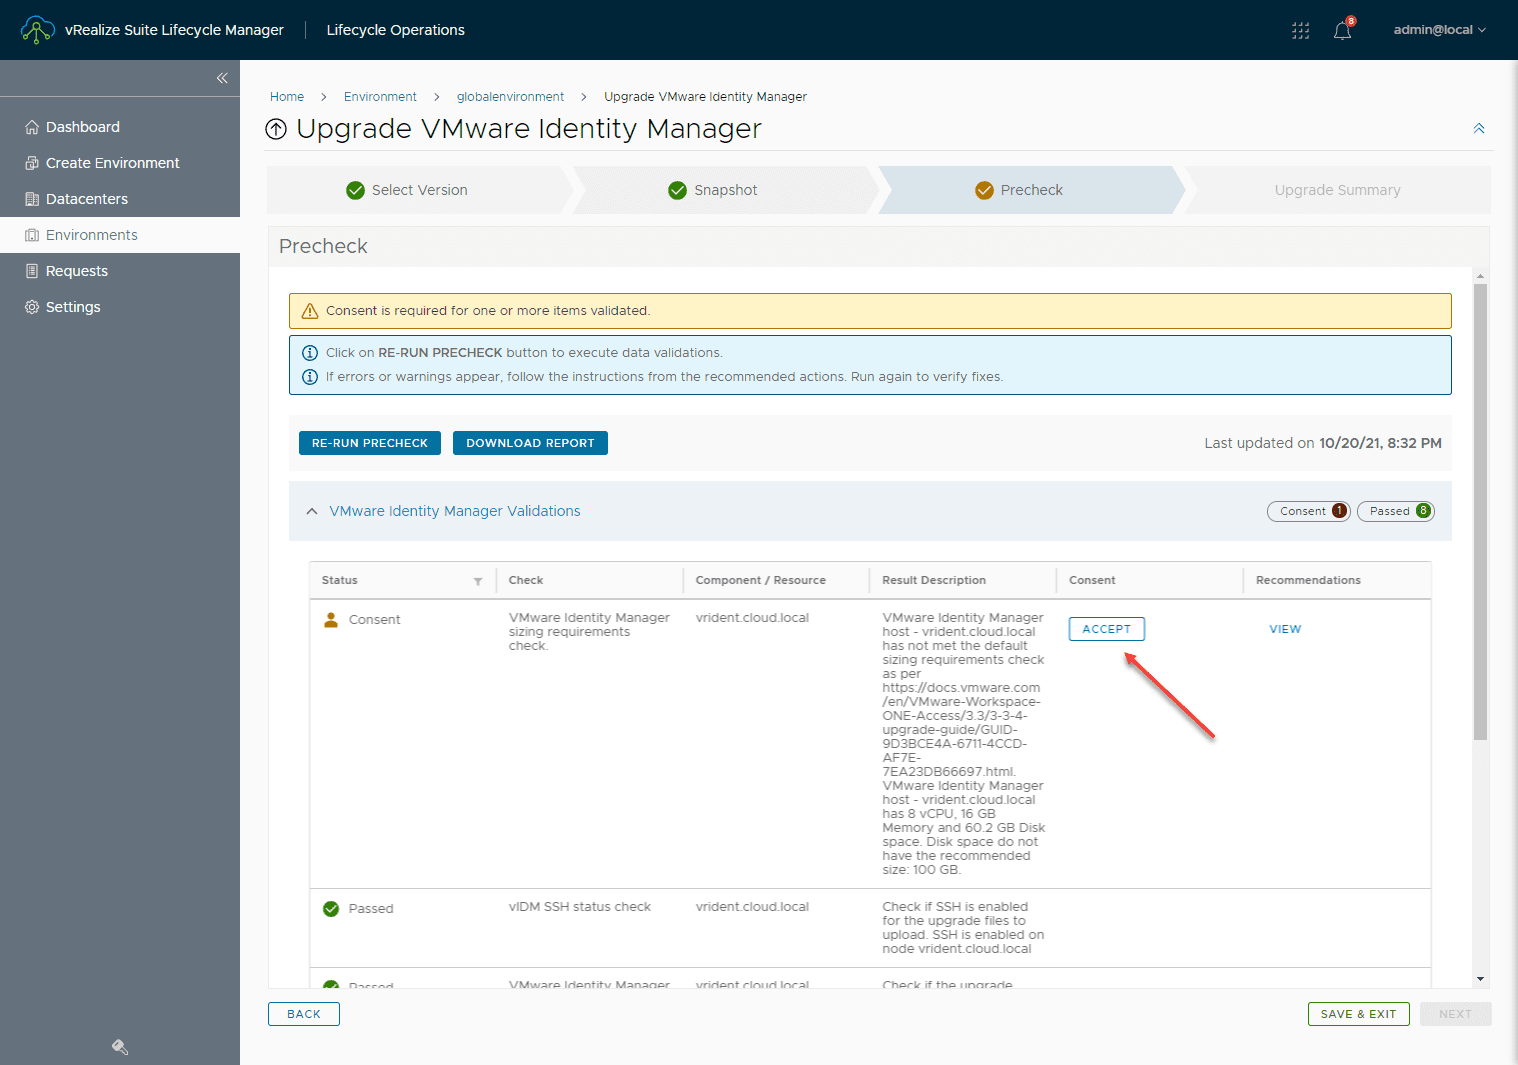
Confirm the manual checks.
I had a couple of issues that came out of the precheck:
- An expired root password
- OVF properties missing
To correct the expired root password, since I didn’t want to change the password, I simply extended the life of the password expiration.

Also, I had an issue stating the OVF properties were missing. There is an official KB article on this issue found here:
However, after I examined the vApp properties of my VMware Identity Manager VM, these were correct. Simply powering off the VM and powering it back on corrected this issue for me.
Once these were corrected, I reran the upgrade precheck. All blocking issues were resolved. I simply had to accept the consent button and was good to proceed.
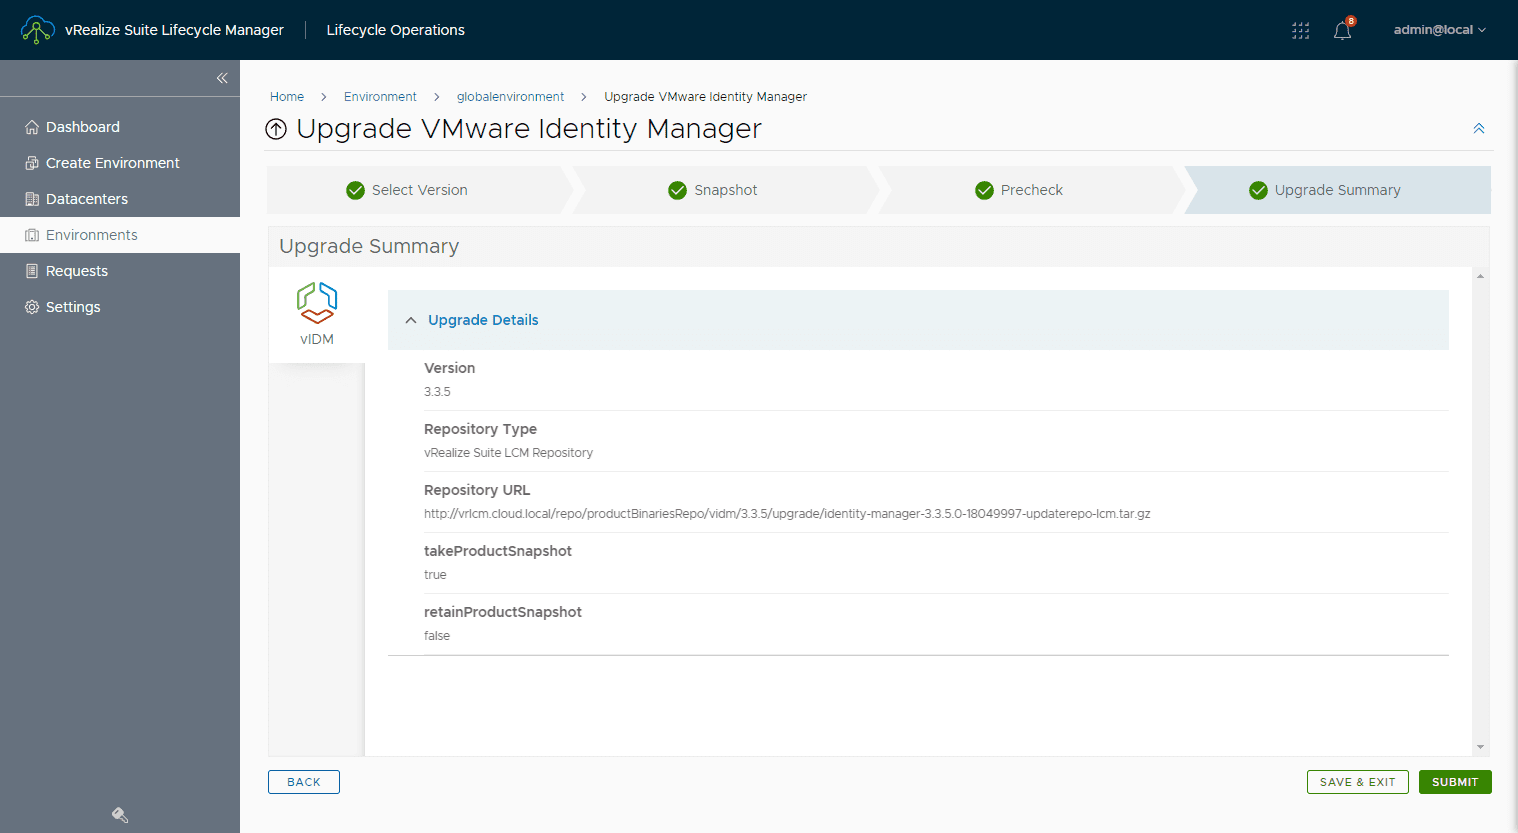
After clicking the consent button, you can proceed with the upgrade of VMware Identity Manager.
Click the Submit button to begin the VMware Identity Manager upgrade request.
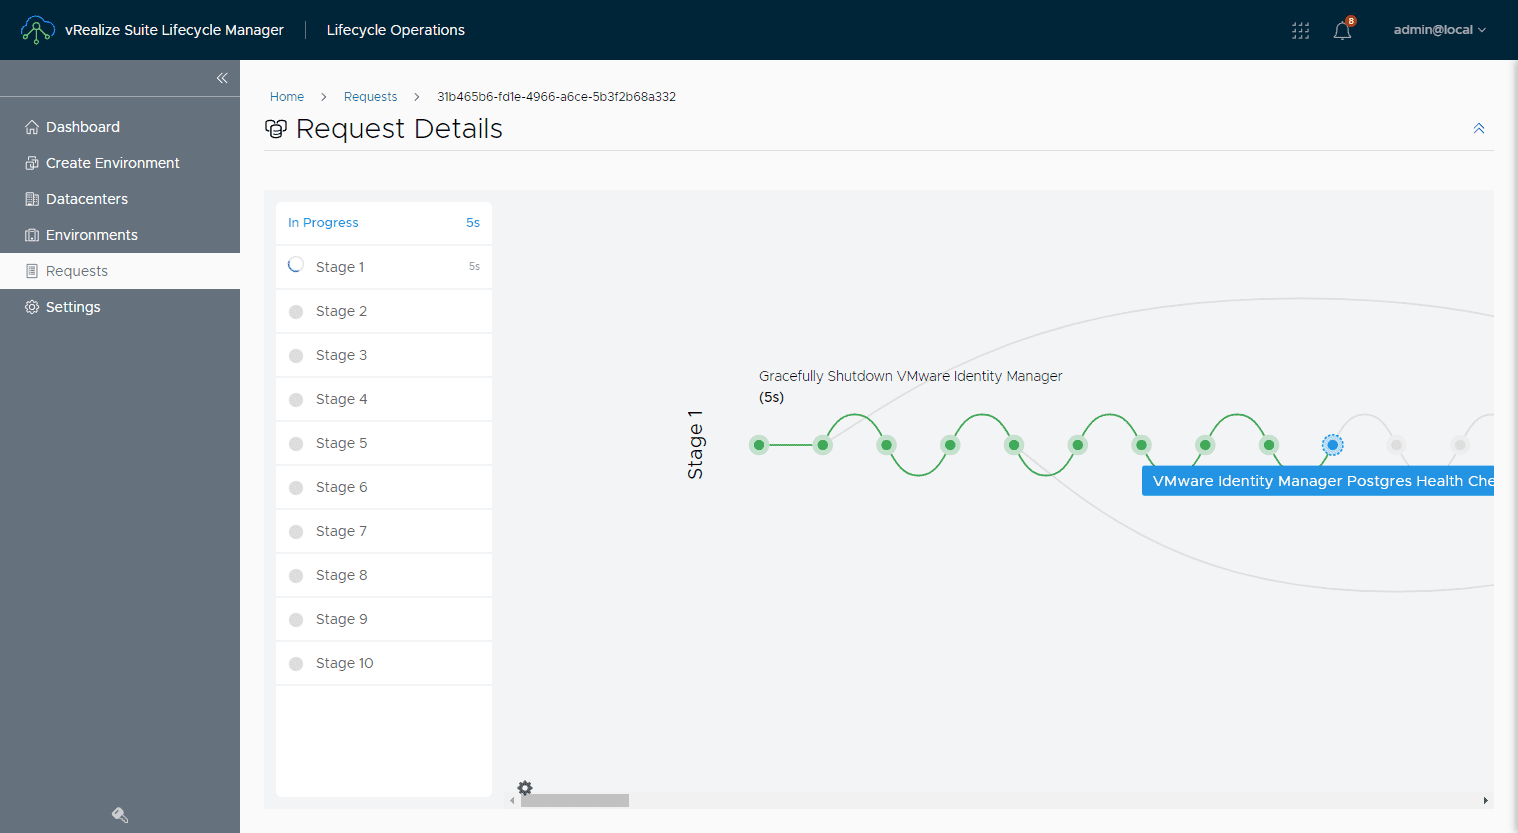
The upgrade process for VMware Identity Manager begins.
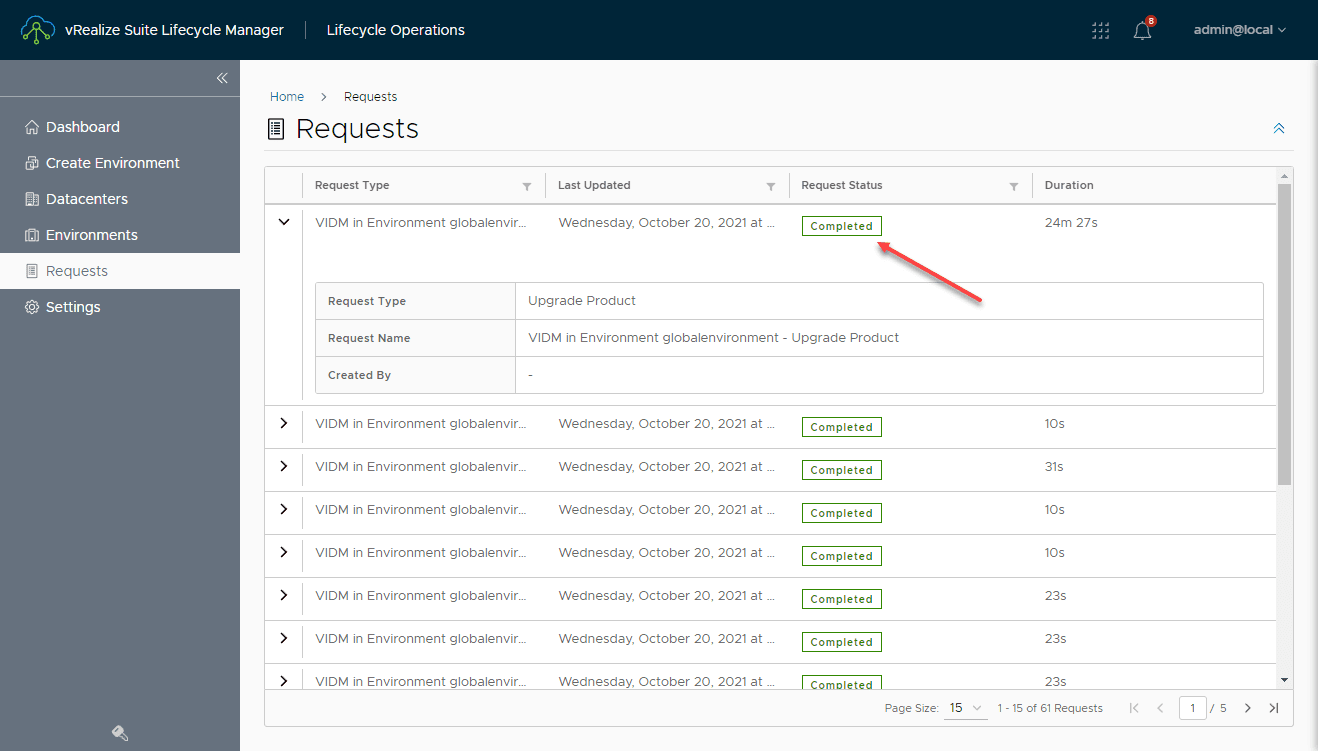
After 24 minutes or so, the process completes successfully.
Concluding
Hopefully, this walkthrough of how to upgrade VMware Identity Manager with vRLCM will help to show the process to get your appliance upgraded using vRealize Lifecycle Manager. As mentioned, I ran into a couple of small blockers that were thankfully not difficult to resolve with the expired root password and the OVF properties issue. After this, the upgrade went smoothly.




0 Comments