The world of Kubernetes and especially Kubernetes development is a fascinating one with many different solutions and tools available for running Kubernetes locally on your Workstation. I have written several posts covering various solutions like Minikube and VMware Tanzu Community Edition (TCE). Today I am going to cover a solution that you may not have heard about as of yet. It is Rancher Desktop. Let’s take a look at Rancher Desktop v1.0 features installation and configuration and see how to get up and running with Rancher Desktop for running your local Kubernetes clusters.
What is Rancher Desktop and Rancher Desktop Features?
First, what is Rancher Desktop to begin with? Rancher Desktop is a solution released from Rancher, a respected name in the Kubernetes world, providing a great open-source Kubernetes deployment, configuration, and management tool. The Rancher Desktop solution is an open-source desktop application that allows running Kubernetes and container management locally on a workstation.
It provides many great features, such as allowing you to choose the version of Kubernetes you want to run locally, building, pushing, and running container images using either containerd or Moby which is dockerd. Also, you don’t need to push your images to a registry first to run them. You can build and run your images immediately in Kubernetes, no container registry required.
Rancher Desktop Architecture
The Rancher Desktop application is based on Electron. It runs the solution as a VM in macOS and Linux and uses Windows Subsystem for Linux 2 (WSL2) for running on Windows. What’s more, you simply download the application and run it. Rancher Desktop uses the specialized Rancher K3s distribution. What is this?
K3s is an official CNCF sandbox project that provides a streamlined and lightweight Kubernetes distribution designed for production workloads where resource use is critically important. It may include running in edge environments on IoT devices.
K3s is simple to install and very lightweight, making it perfect, not only for production use cases, but also as a local development platform running inside the Rancher Desktop application.
A stable 1.0.0 release only days away
There is already a Beta 1.0.0 release posted on the official Github site and the official stable 1.0.0 release is set for Wednesday January 26, 2022. What’s going to be new with the 1.0.0 stable release? According to the official Rancher blog post covering this topic:
- A change in development philosophy with more focus on stability
- 1.0.0 will be a stable release moving forward
- More details will be given when the release is official in the Rancher documentation
Rancher Desktop v1.0 Features Installation and Configuration
Downloading Rancher Desktop
To download the Rancher Desktop application, you can visit the official Github repository here:
Installing Rancher Desktop in Windows
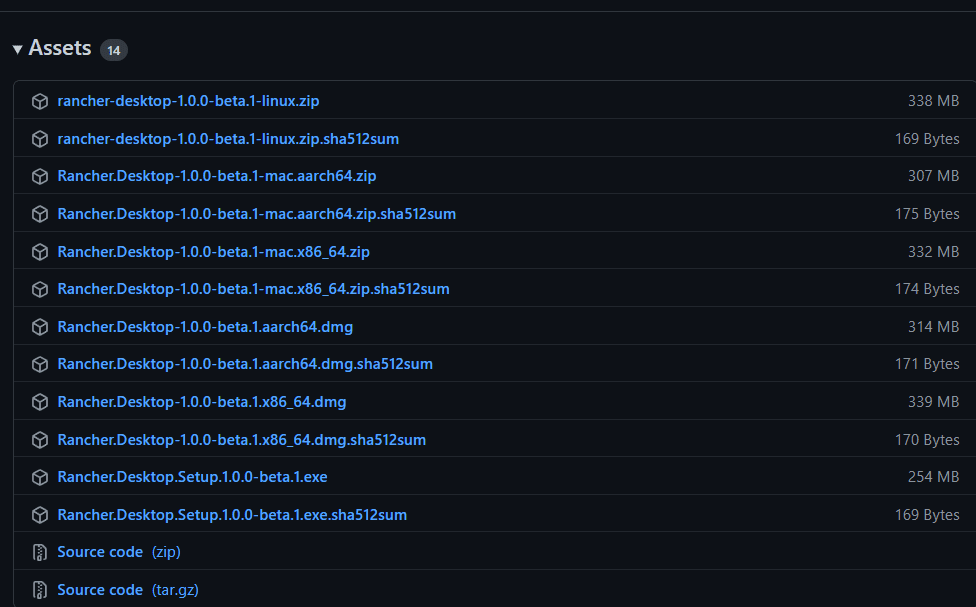
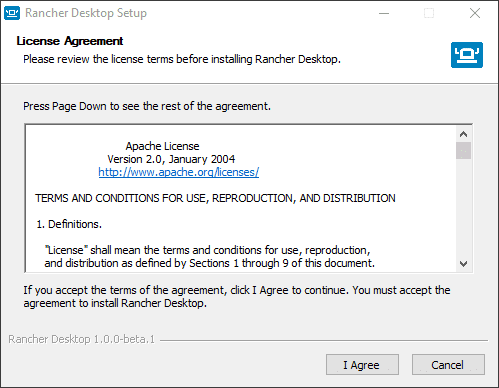
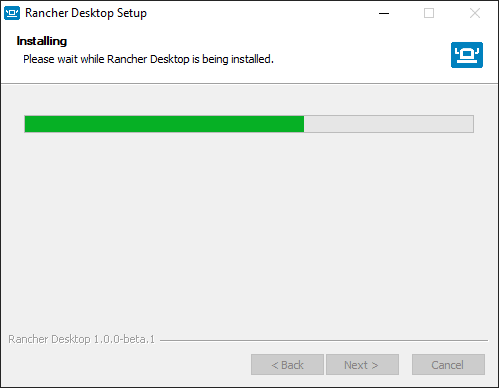
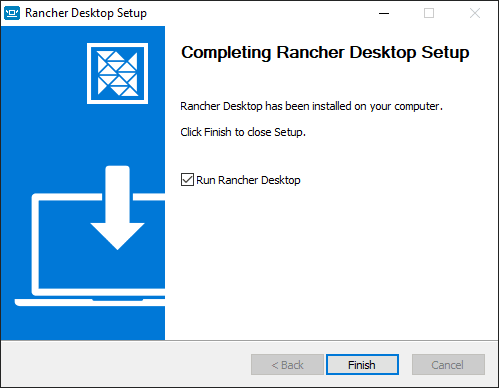
Since my administrative workstation is Windows, I will be downloading and installing the Windows version of Rancher Desktop v1.0.0 beta. As you can see from the screenshot above, the size is small at 254 MB. After downloading the Rancher Desktop installation, simply run the .exe and next through the prompts (only 2 screens in Windows).
Configuring Rancher Desktop Kubernetes
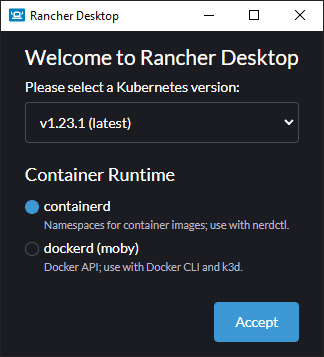
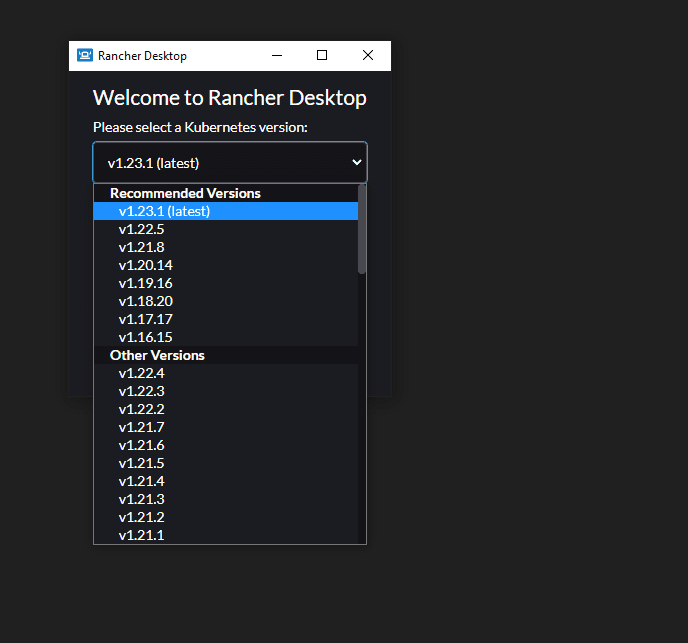
Once Rancher Desktop is installed and you left the Run Rancher Desktop option selected, you will see the Rancher Desktop Kubernetes configuration dialog box launch. In this configuration dialog, you can configure the version of Kubernetes you want to run and the container runtime used to run it. Here, I am leaving the defaults selected (v1.23.1 (latest) Kubernetes and containerd).
Note below, you can click the Please select a Kubernetes version drop-down and select a specific version of Kubernetes. This is a great feature. You may not be (most likely are not) running the latest version of Kubernetes in production. This feature allows you to easily switch to the version of Kubernetes that matches your production environments and develop against the same version used in production.
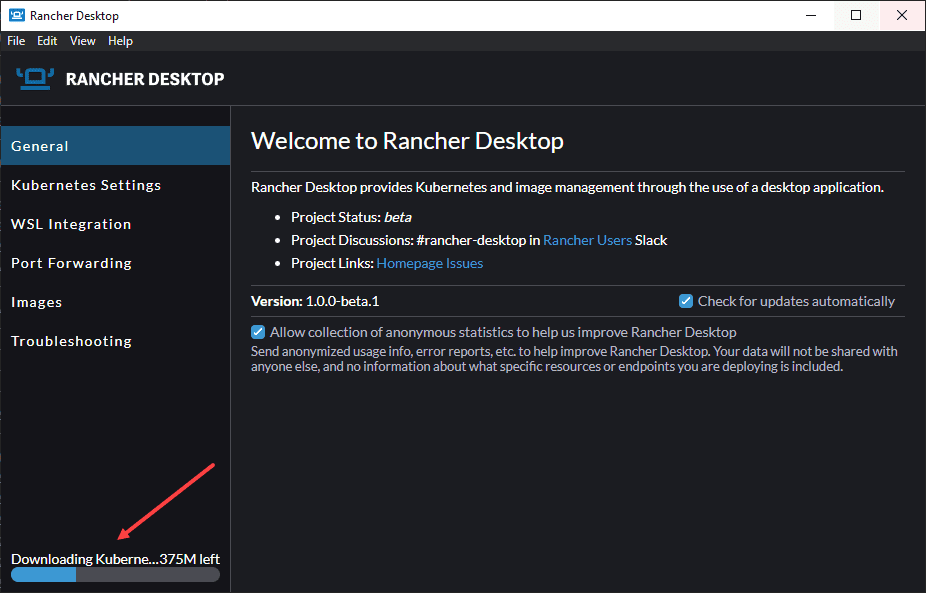
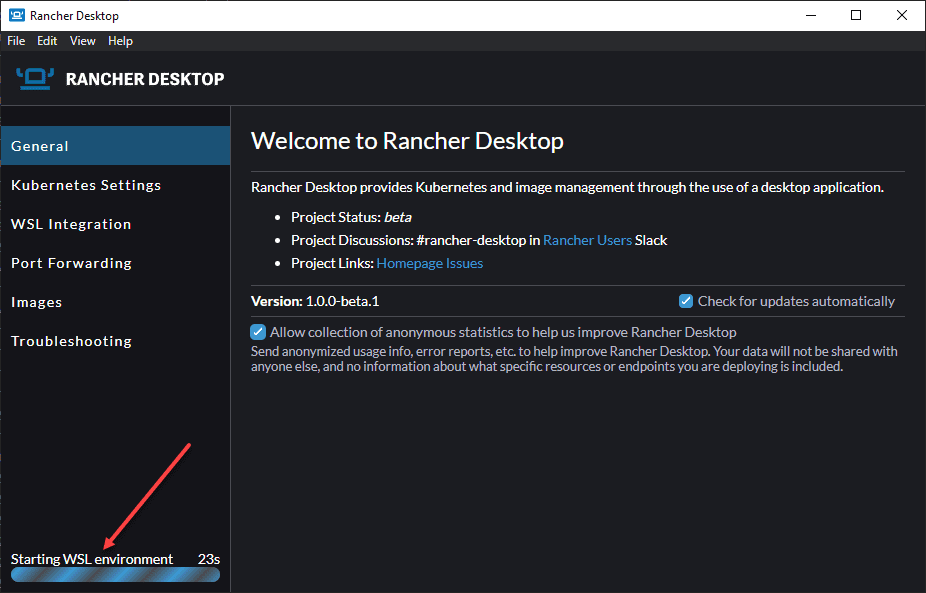
Once you select the version of Kubernetes and the container runtime, and click Accept, Rancher Desktop will begin provisioning your local Kubernetes cluster. You will see the full Rancher Desktop app launch at this point.
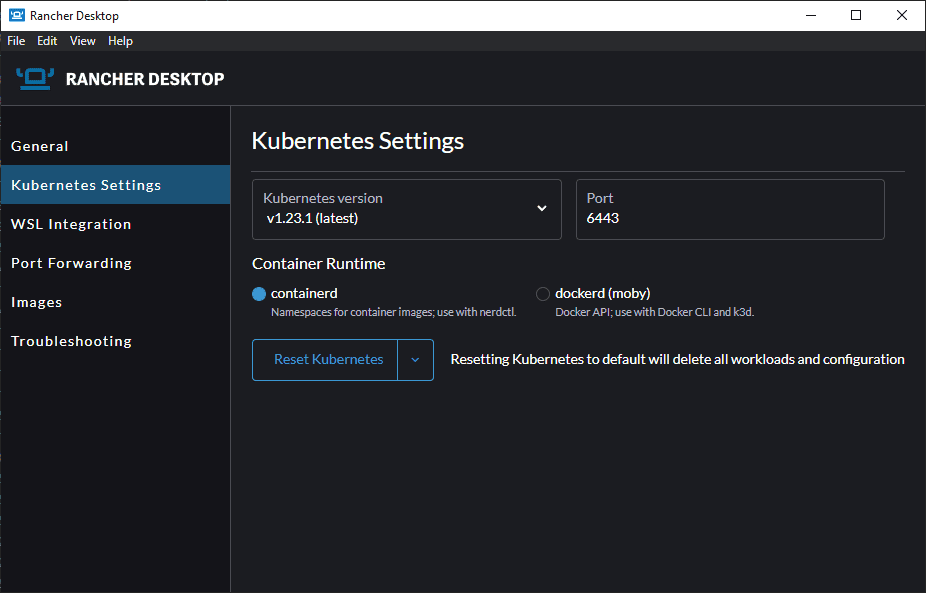
Let’s go through the configuration screens available in Rancher Desktop while the WSL environment is prepared (doesn’t take long). On the Kubernetes settings screen, you see the various information configured at the outset with the version of Kubernetes and container runtime selected.
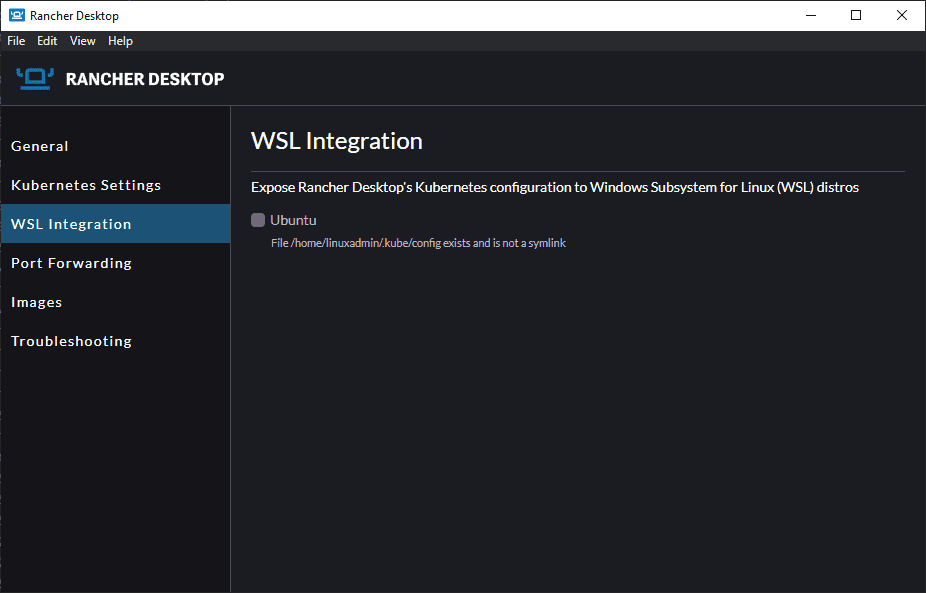
WSL integration screen. You can expose Rancher Desktop’s Kubernetes configuration to Windows Subsystem for Linux (WSL) distros.
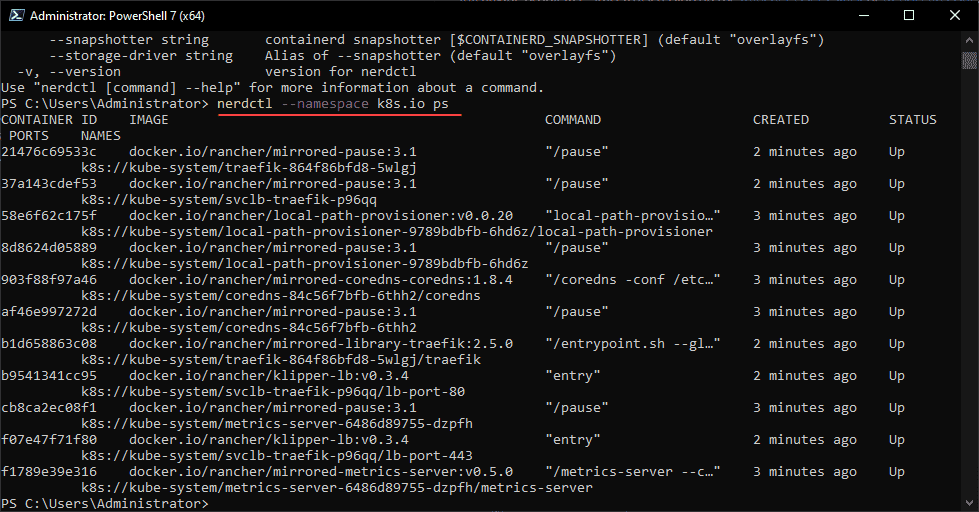
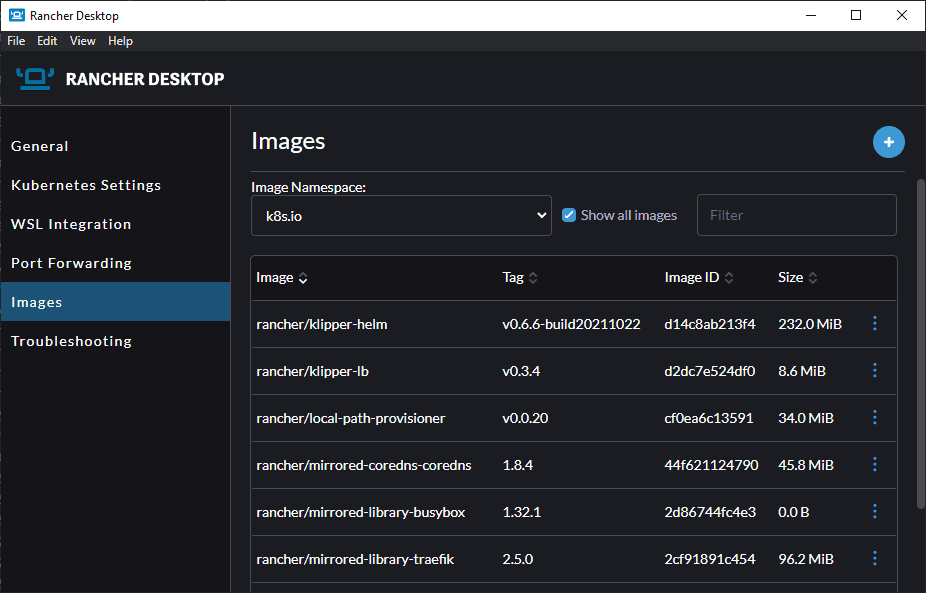
The images configuration screen shows the various images available to the K8s.io namespace.
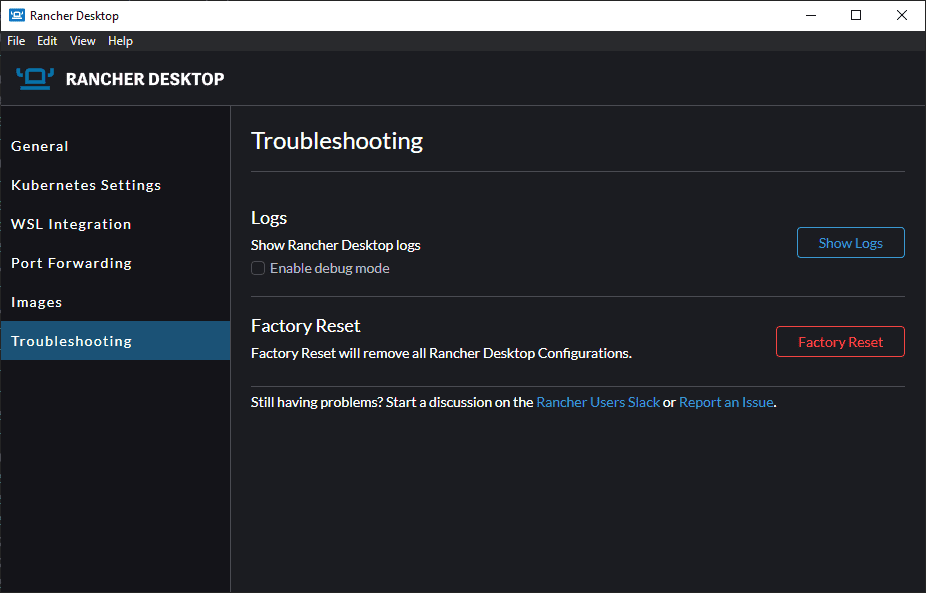
On the Troubleshooting page, you can view logs and also reset the environment back to its factory configuration if you encounter issues.
Using nerdctl command-line tool
The nerdctl tool is a Docker-compatible CLI for containerd. It provides the ability to run equivalent Docker CLI commands such as docker run, docker pull, and docker logs. All of these commands are found in nerdctl.
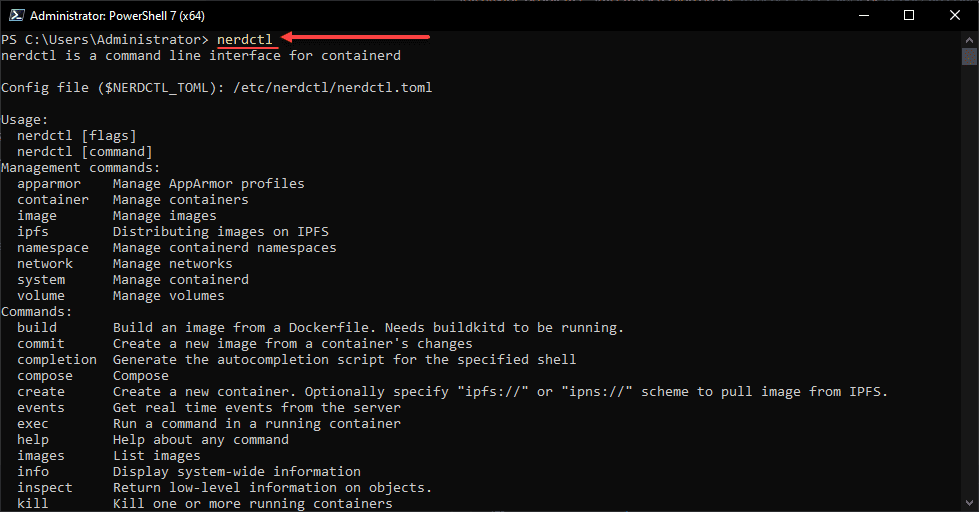
Below, we are viewing the K8s.io namespace with nerdctl.
Connecting to Rancher Desktop Kubernetes using Kubectl
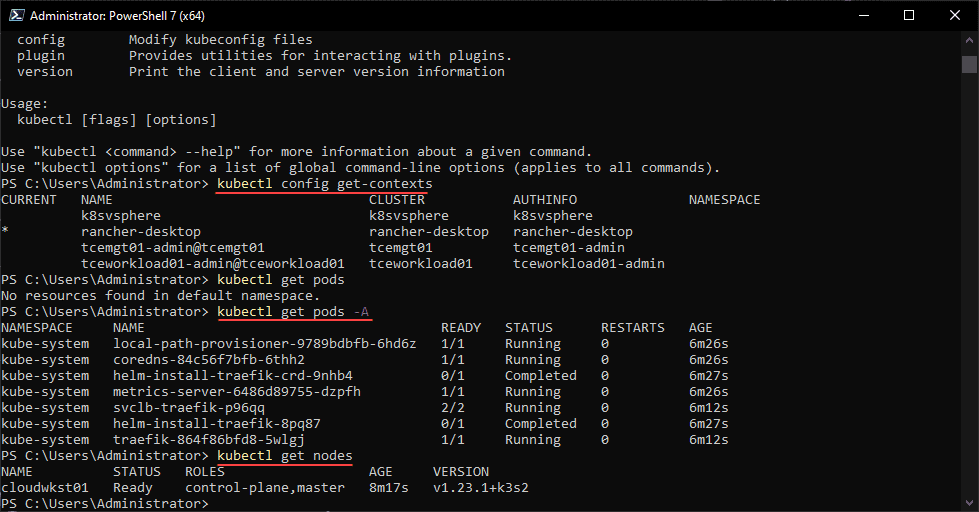
Now, let’s connect to our Rancher Desktop Kubernetes instance using Kubectl. Below, I wanted to ensure my kubectl context was set to the Rancher Desktop Kubernetes cluster. It is correctly set and you can see this with the Current designation.
You can then take a look at the pods and nodes using the normal kubectl commands:
kubectl get pods -A
kubectl get nodes
As you can see below, Rancher Desktop spins up a single-node Kubernetes cluster.
Video overview of Rancher 1.0 installation and configuration
Wrapping Up
The Rancher Desktop solution is a great solution to easily stand up a
local Kubernetes environment on your local Workstation for development,
learning, and other purposes. The process to download and run
Kubernetes using Rancher Desktop is “brain dead” simple and provides
features that other development environments don’t have, such as the
ability to choose which version of Kubernetes is used to provision the
environment. This seems like such an obvious feature, but, other
solutions don’t include it.


0 Comments