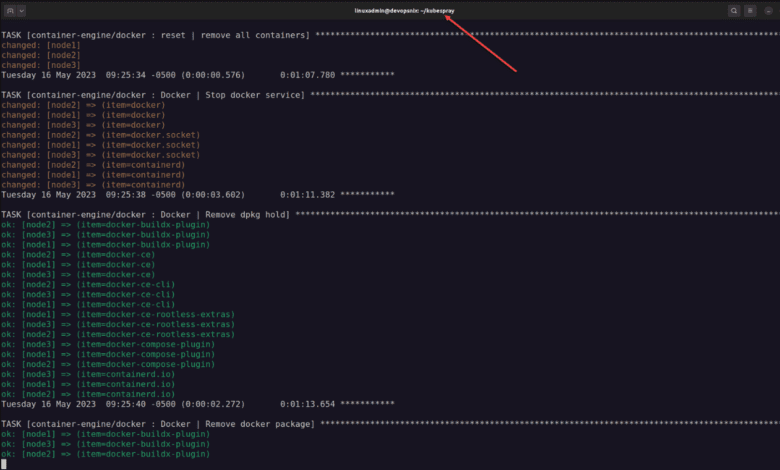
Kubernetes is a powerful platform for managing containerized applications, but setting up a Kubernetes cluster isn’t always straightforward. That’s where Kubespray comes into play. Kubespray is a powerful tool designed to simplify setting up a Kubernetes cluster. It’s an open-source project under the Kubernetes sigs, and it leverages Ansible playbooks and inventory to automate cluster deployment. It’s compatible with various cloud providers, including AWS and the Oracle Cloud Infrastructure, as well as bare metal servers, making it versatile in deployment.
What is Kubernetes?
Kubernetes has earned its reputation as a game-changer in software development and IT operations. But what exactly is Kubernetes, and what makes it so powerful?
Kubernetes, often abbreviated as K8s, is an open-source platform that automates containerized applications’ deployment, scaling, and management. Originally developed by Google, Kubernetes is now maintained by the Cloud Native Computing Foundation (CNCF).
Clustering capabilities
One of the significant advantages of Kubernetes is its ability to handle cluster environments. A cluster is a group of machines that work together, often called nodes. Within a Kubernetes cluster are two types of nodes: worker nodes and control plane nodes.
Worker nodes and Control Plane node
The worker nodes are where the applications (packaged in containers) run, while the control plane nodes manage the worker nodes and the Kubernetes API. When you deploy an application on Kubernetes, you inform the Kubernetes control plane to start the application containers. The control plane then schedules those containers to run on the cluster’s worker nodes.
Scalability
Kubernetes clusters can range from a single node to several thousand nodes, providing incredible scalability. This scalability is one of the many reasons companies of all sizes use Kubernetes to manage their applications.
For instance, consider an nginx deployment. Nginx is a popular open-source software that can be used as a web server, reverse proxy, load balancer, and more. When deploying Nginx in a Kubernetes cluster, Kubernetes takes the Nginx container and schedules it to run on one of the worker nodes. If the application needs to scale due to increased demand, Kubernetes can automatically start additional Nginx containers on other worker nodes, handling the load balancing across the nodes.
Third-party plugins
Moreover, Kubernetes supports a vast ecosystem of add-ons and plugins, such as network plugins for networking and storage plugins for persistence. This flexibility allows teams to configure their Kubernetes clusters to meet specific needs.
Kubernetes is a powerful, flexible, and extensible system for managing containerized applications in a clustered environment. It abstracts the complexity of managing a large number of containers, allowing developers and operators to focus on what matters most: building great applications.
What is Kubespray?
Kubespray, one of the projects under the Kubernetes sigs, is a robust, versatile, and open-source tool designed to deploy and manage production-ready Kubernetes clusters. It’s built upon the shoulders of Ansible and leverages Ansible Playbooks and inventory files for automated cluster deployment.
Kubespray provides a straightforward way of creating, configuring, and managing Kubernetes clusters, hiding the complexity behind user-friendly Ansible tasks. This means you don’t need to install each Kubernetes control plane or worker node component manually. Instead, Kubespray handles these tasks for you, using the parameters defined in your inventory file and the associated Ansible playbook.
What makes Kubespray stand out is its flexibility. It supports multiple Linux distributions, including Stretch Ubuntu and Kinvolk Debian Bullseye, and is compatible with various cloud providers and on-premise servers, even on bare metal. This adaptability allows you to deploy Kubernetes clusters according to your own rules and specific environmental needs.
Understanding the Prerequisites for Kubespray
Before diving into using Kubespray to set up a Kubernetes cluster, it’s crucial to understand the prerequisites. First, you’ll need a set of target servers that meet the minimum required operating system versions, such as Ubuntu or Debian. These servers will function as your Kubernetes nodes, including the control plane and worker nodes.
The control plane, also known as the Kubernetes control plane, forms the brain of the Kubernetes cluster. It’s responsible for maintaining the cluster’s desired state, while the worker nodes are where your applications will run.
Installing Ansible
You’ll also need to have Ansible installed on your control node. If you don’t already have Ansible, you can install Ansible with the command sudo pip install ansible.
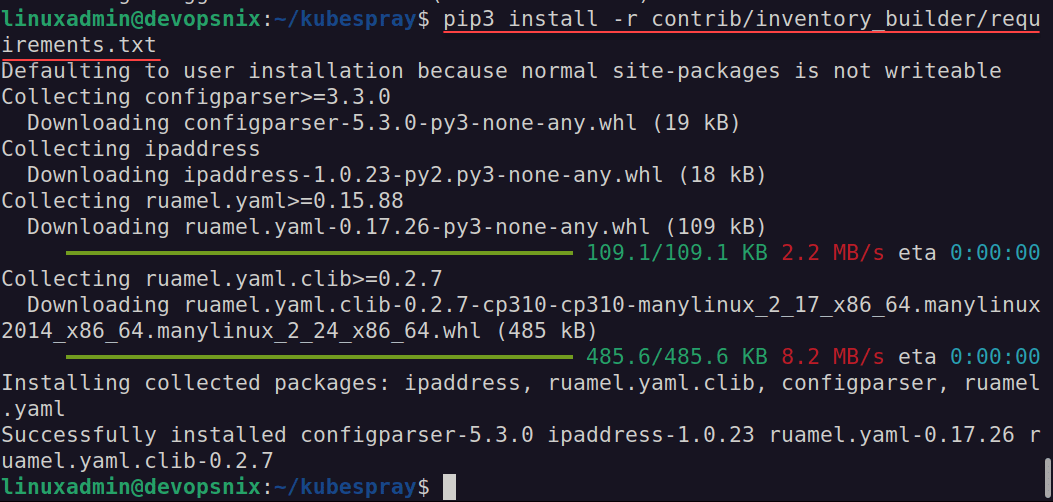
You’ll also need Python and the appropriate Python dependencies installed. If these are not already installed, you can use sudo pip install -r requirements.txt to install Python dependencies.
According to the Kubespray documentation, you can install Ansible using the steps below. You will want to ensure you are using a supported version of Ansible.
Check the latest Kubespray Ansible installation guidance here: kubespray/ansible.md at master · kubernetes-sigs/kubespray · GitHub.
They recommend installing Ansible in a Python virtual environment, which you can do below:
VENVDIR=kubespray-venv
KUBESPRAYDIR=kubespray
ANSIBLE_VERSION=2.12
virtualenv  --python=$(which python3) $VENVDIR
source $VENVDIR/bin/activate
cd $KUBESPRAYDIR
pip install -U -r requirements-$ANSIBLE_VERSION.txt
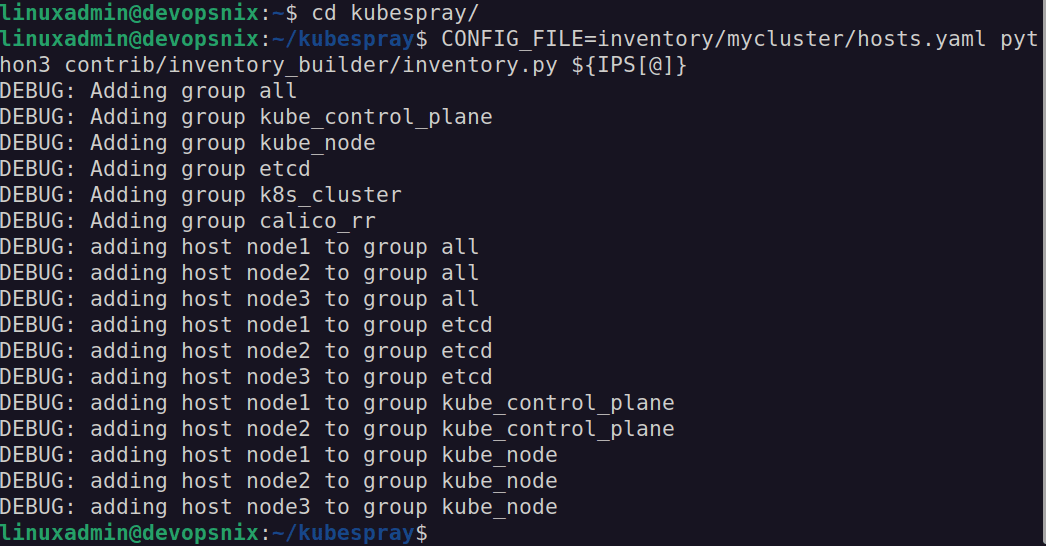
After you install Ansible and the requirements, you can proceed to follow the directions for setting up your Kubespray environment, including creating the hosts.yaml file as per below.
# Copy ``inventory/sample`` as ``inventory/mycluster``
cp -rfp inventory/sample inventory/mycluster

# Update Ansible inventory file with inventory builder
declare -a IPS=(10.10.1.3 10.10.1.4 10.10.1.5)
CONFIG_FILE=inventory/mycluster/hosts.yaml python3 contrib/inventory_builder/inventory.py ${IPS[@]}

# Review and change parameters under ``inventory/mycluster/group_vars``
cat inventory/mycluster/group_vars/all/all.yml
cat inventory/mycluster/group_vars/k8s_cluster/k8s-cluster.yml

# Clean up old Kubernete cluster with Ansible Playbook - run the playbook as root
# The option `--become` is required, as for example cleaning up SSL keys in /etc/,
# uninstalling old packages and interacting with various systemd daemons.
# Without --become the playbook will fail to run!
# And be mind it will remove the current kubernetes cluster (if it's running)!
ansible-playbook -i inventory/mycluster/hosts.yaml  --become --become-user=root reset.yml

# Deploy Kubespray with Ansible Playbook - run the playbook as root
# The option `--become` is required, as for example writing SSL keys in /etc/,
# installing packages and interacting with various systemd daemons.
# Without --become the playbook will fail to run!
ansible-playbook -i inventory/mycluster/hosts.yaml  --become --become-user=root cluster.yml
The Easy Way – Use a Docker container
There is a really easy way to ensure you use a supported version of Ansible. There is a prebuilt Docker container you can find here: https://quay.io/repository/kubespray/kubespray?tab=tags.
To spin up an interactive container with the tools needed for Kubespray, use the following (replace with the current tag found from the link above):
docker pull quay.io/kubespray/kubespray:v2.21.0
docker run --rm -it --mount type=bind,source="$(pwd)"/inventory/sample,dst=/inventory
  --mount type=bind,source="${HOME}"/.ssh/id_rsa,dst=/root/.ssh/id_rsa
  quay.io/kubespray/kubespray:v2.21.0 bash
# Inside the container you may now run the kubespray playbooks:
ansible-playbook -i /inventory/inventory.ini --private-key /root/.ssh/id_rsa cluster.yml
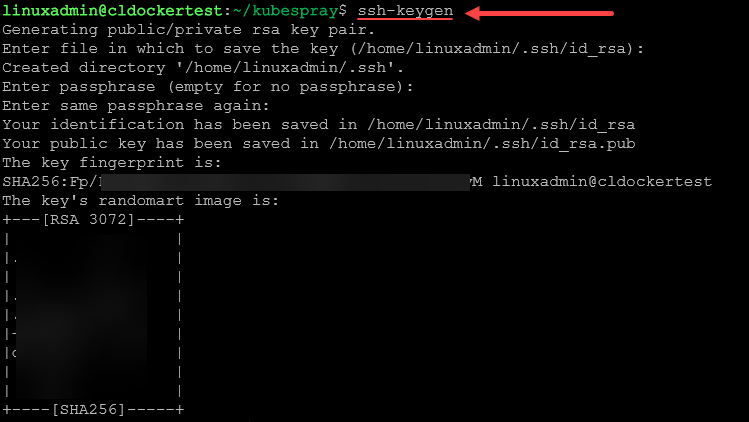
Create your Bind mount and make sure you have generated an SSH key
The above command expects you to create a directory structure to pass into your Docker run command. Also, you must ensure you have generated an SSH key for your user.
You can do that with the command:
ssh-keygenAfter creating the directory structure and generating your SSH key, you can run the container interactively.
Setting Up Your Inventory File
The inventory file is a crucial component of Kubespray. This is where you list the IP addresses of your Kubernetes nodes. You must specify which nodes will be your control plane and worker nodes. For example, if you are using the Oracle Cloud Infrastructure, you’ll use the IP addresses assigned by Oracle.
You can also specify additional configuration options in the inventory file, such as the network plugin you want to use. Kubespray supports several network plugins, including the generic CNI plugin and Kube-router. Choose the network plugin that best suits your needs.
Below is a sample Ansible inventory file that I have modified with my three hosts:
# ## Configure 'ip' variable to bind kubernetes services on a
# ## different ip than the default iface
# ## We should set etcd_member_name for etcd cluster. The node that is not a etcd member do not need to set the value, or can set the empty string value.
[all]
node1 ansible_host=10.1.149.123  # ip=10.3.0.1 etcd_member_name=etcd1
node2 ansible_host=10.1.149.124  # ip=10.3.0.2 etcd_member_name=etcd2
node3 ansible_host=10.1.149.123  # ip=10.3.0.3 etcd_member_name=etcd3
# node4 ansible_host=95.54.0.15  # ip=10.3.0.4 etcd_member_name=etcd4
# node5 ansible_host=95.54.0.16  # ip=10.3.0.5 etcd_member_name=etcd5
# node6 ansible_host=95.54.0.17  # ip=10.3.0.6 etcd_member_name=etcd6

# ## configure a bastion host if your nodes are not directly reachable
# [bastion]
# bastion ansible_host=x.x.x.x ansible_user=some_user

[kube_control_plane]
node1
# node2
# node3

[etcd]
node1
# node2
# node3

[kube_node]
node2
node3
# node4
# node5
# node6

[calico_rr]

[k8s_cluster:children]
kube_control_plane
kube_node
calico_rr
Deploying Your Kubernetes Cluster with Kubespray in Docker
Once your inventory file is set up, you can deploy using the Ansible playbook command. The command to deploy your Kubernetes cluster is the following:
ansible-playbook -i inventory/mycluster/hosts.yaml cluster.ymlThe ansible-playbook -i inventory part of the command tells Ansible to use the specified inventory file. The cluster.yml file is the main playbook file provided by the Kubespray project.
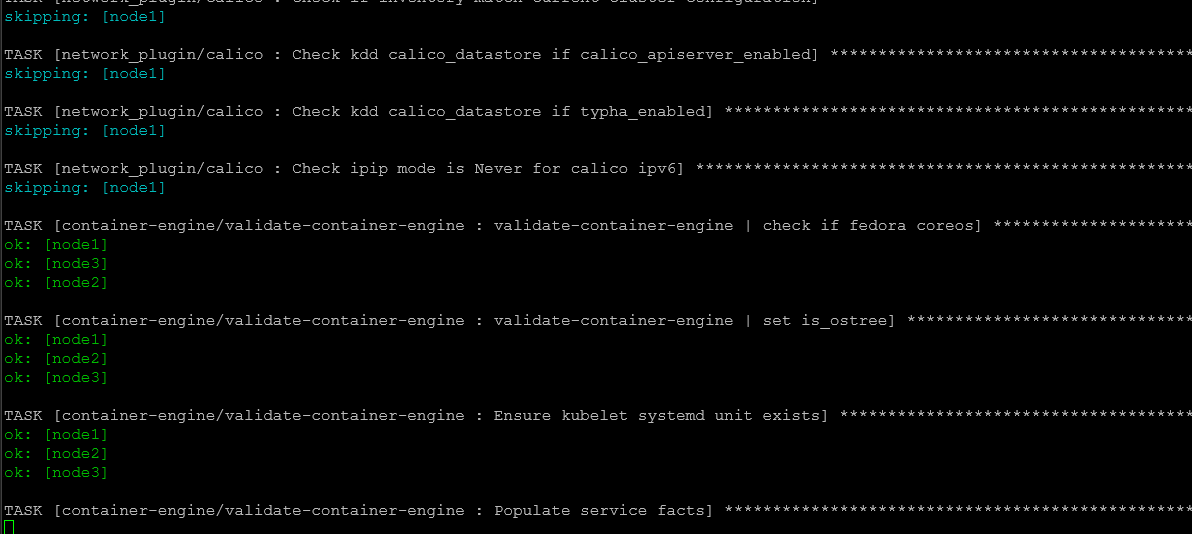
While deploying, Kubespray will pull Docker images, set up the control plane, configure the worker nodes, and ensure the appropriate routing for your cluster.
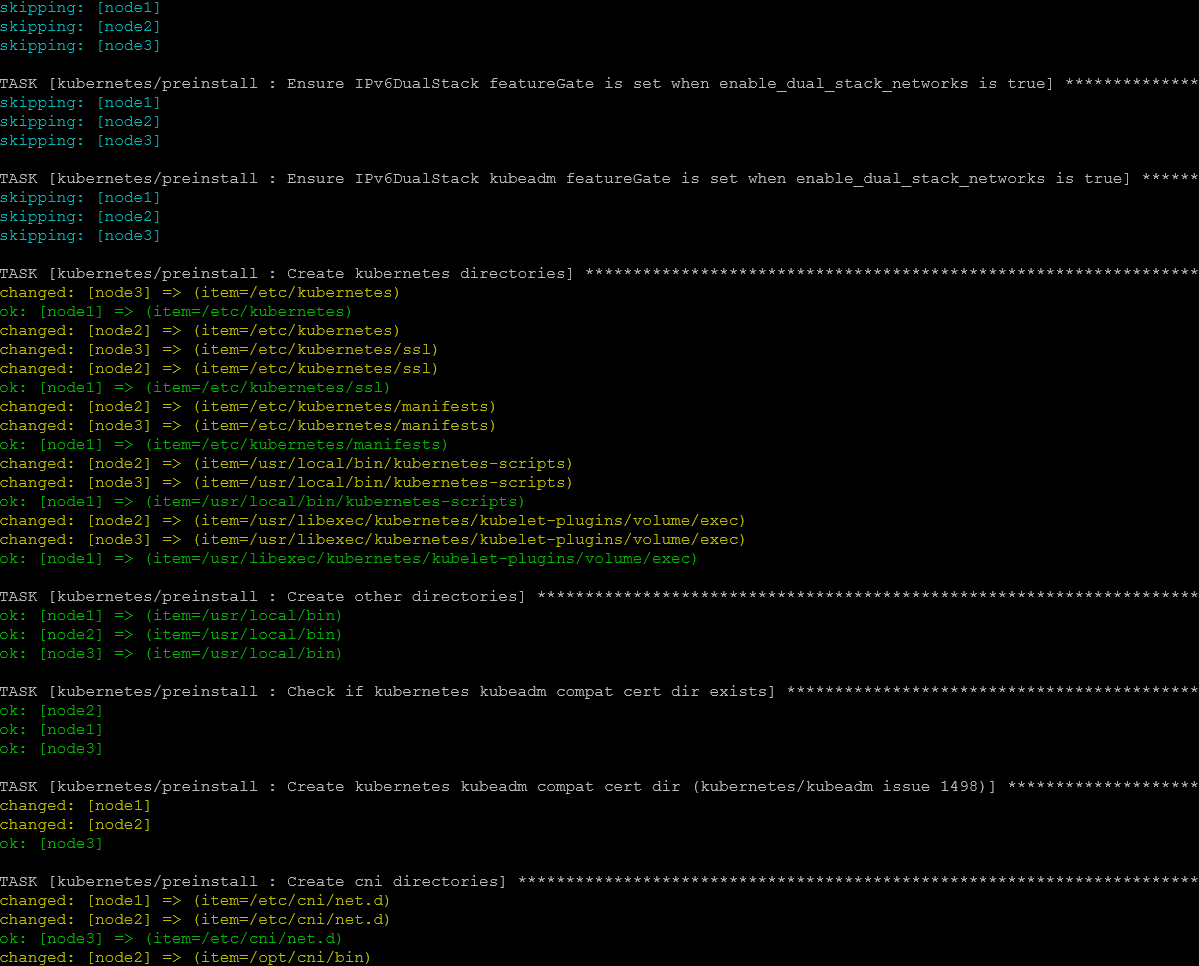
Continuing to run the tasks.
Verifying Your Kubernetes Cluster
After deploying your Kubernetes cluster, it’s essential to verify everything works correctly. You can do this by running the kubectl get nodes command. This command will display all your Kubernetes nodes, and you should see that all your nodes are in the Ready state.
If you encounter any issues, you can diagnose cluster problems by running kubectl cluster info dump. This command will output a lot of information that can help you troubleshoot any issues with your cluster.
Adding and Removing Nodes in Your Kubernetes Cluster
Kubespray makes it easy to add or remove nodes from your Kubernetes cluster. To add worker nodes, you must update your inventory file with the new node’s IP address and rerun the cluster playbook.
To remove a node, you can use the remove-node.yml playbook. The command to remove a node is ansible-playbook -i inventory/mycluster/hosts.yaml remove-node.yml -e node=node_name. Replace node_name with the name of the node you want to remove. Remember to update your inventory file after removing nodes.
Updating Your Kubernetes Cluster
Kubespray also provides a way to update your Kubernetes cluster to a new Kubernetes version. Before proceeding, make sure that the new version is compatible with Kubespray. You can check the Kubespray project’s GitHub page for compatibility information.
To update your cluster, you’ll use the upgrade-cluster.yml playbook. Like deploying the cluster, you’ll need to specify your inventory file with the -i inventory part of the command. The full command is ansible-playbook -i inventory/mycluster/hosts.yaml upgrade-cluster.yml.
Troubleshooting Your Kubernetes Cluster
Despite your best efforts, you may encounter problems with your Kubernetes cluster. But don’t worry, Kubespray provides tools to help diagnose cluster problems. As mentioned earlier, the kubectl cluster info dump command can provide a wealth of information for troubleshooting.
Another useful tool is the validate-cluster.yml playbook. This playbook checks that all necessary Kubernetes components are running and that all nodes are Ready. You can run this playbook with the command ansible-playbook -i inventory/mycluster/hosts.yaml validate-cluster.yml.
Securing Your Kubernetes Cluster
Securing your Kubernetes cluster is crucial. One of the first steps to securing your cluster is to ensure only trusted users have SSH access. Each user should have their SSH key, and root user access should be limited.
Another important step is to ensure the correct privilege escalation method is in place. This method allows a non-root user account to perform tasks that require root privileges. Kubespray allows you to specify the privilege escalation method in the group_vars/k8s-cluster/k8s-cluster.yml file.
Frequently Asked Questions (FAQs) about Kubespray
1. What is Kubespray?
Kubespray is a popular open-source project that simplifies setting up a Kubernetes cluster. It leverages Ansible playbooks and roles for automated cluster deployment and configuration, making it a go-to tool for many DevOps and IT professionals.
2. How do I use Kubespray to set up a Kubernetes cluster?
Setting up a Kubernetes cluster with Kubespray involves several steps: installing necessary dependencies, cloning the Kubespray project from GitHub, configuring your inventory file, and running the Kubespray Ansible playbook command. For detailed steps, refer to the main content of this blog post.
3. Can I use Kubespray with different cloud providers or on-premise servers?
Kubespray is versatile and can work with various cloud providers like AWS, Google Cloud, and Oracle Cloud Infrastructure. It also supports on-premise deployments, including bare metal servers.
4. How can I add or remove nodes using Kubespray?
Kubespray provides specific Ansible playbooks for adding and removing worker nodes. The scale.yml playbook is used to add worker nodes, and the remove-node.yml playbook is used to remove nodes from your cluster.
5. Is Kubespray compatible with all Kubernetes versions?
Kubespray is regularly updated to support the latest stable versions of Kubernetes. However, not all Kubernetes versions may be compatible. You can check the Kubespray GitHub page for the latest compatibility information.
6. How can I troubleshoot problems in my Kubernetes cluster with Kubespray?
Kubespray offers several tools to help diagnose cluster problems. One useful command is kubectl cluster info dump, which provides detailed information about your cluster. You can also use the validate-cluster.yml playbook to check the status of your cluster.
7. How can I secure my Kubernetes cluster deployed with Kubespray?
Securing your Kubernetes cluster involves controlling SSH access, ensuring the correct privilege escalation method, and more. Kubespray offers various configuration options to enhance the security of your cluster.
8. Can I upgrade my Kubernetes cluster with Kubespray?
Yes, Kubespray provides the upgrade-cluster.yml playbook that you can use to update your Kubernetes cluster to a new version. However, ensure the new version is compatible with Kubespray before proceeding.
9. Can I use Kubespray to deploy a Kubernetes cluster on Stretch Ubuntu or Kinvolk Debian Bullseye?
Kubespray supports many operating systems, including Stretch Ubuntu and Kinvolk Debian Bullseye. However, check the minimum required operating system version to ensure compatibility.
10. What is the role of Ansible in Kubespray?
Ansible is a critical component of Kubespray. Kubespray leverages Ansible playbooks and roles to automate the deployment and configuration of Kubernetes clusters, making the setup process consistent and repeatable.
Wrapping Up
Kubespray offers a robust and flexible solution for deploying Kubernetes clusters. Whether you’re working with cloud providers or bare metal servers, Kubespray can simplify setting up and managing your Kubernetes infrastructure.
Remember, like any tool, it’s essential to understand how Kubespray works and its requirements to make the most out of it. It includes good troubleshooting tools and a large community of users around the solution that are a great resource to digging deeper if needed. With this guide, you’re well on your way to mastering Kubernetes deployments using Kubespray.





0 Comments