The home lab server has gained significant traction among IT professionals, enthusiasts, and even small businesses. A home lab serves as a sandbox environment where you can test, experiment, and learn new skills without the risk of impacting professional or public networks. It’s an excellent way to gain hands-on experience, a crucial aspect often missing in traditional learning environments.
This article will provide a detailed guide on seven indispensable tools and technologies for your home lab server setup in 2023. We will explore resources to buy cost-effective hardware, delve into open-source hypervisors, and examine the world of containerization with Docker and the orchestration magic of Kubernetes. Also, we will look at how AI tools can enhance your coding skills and, finally, how to streamline tasks using DevOps tools.
So whether you are building your own server for the first time or seeking to improve your home lab environment, this guide is for you. Please bear in mind that each of these tools builds on the others. Acquiring hardware is your first step. Setting up a hypervisor comes next, and so forth. By the end, you should understand how these tools interconnect to create a robust, efficient, and powerful home lab server. Let’s get started!
1. Sourcing Home Lab Hardware: Lab Gopher
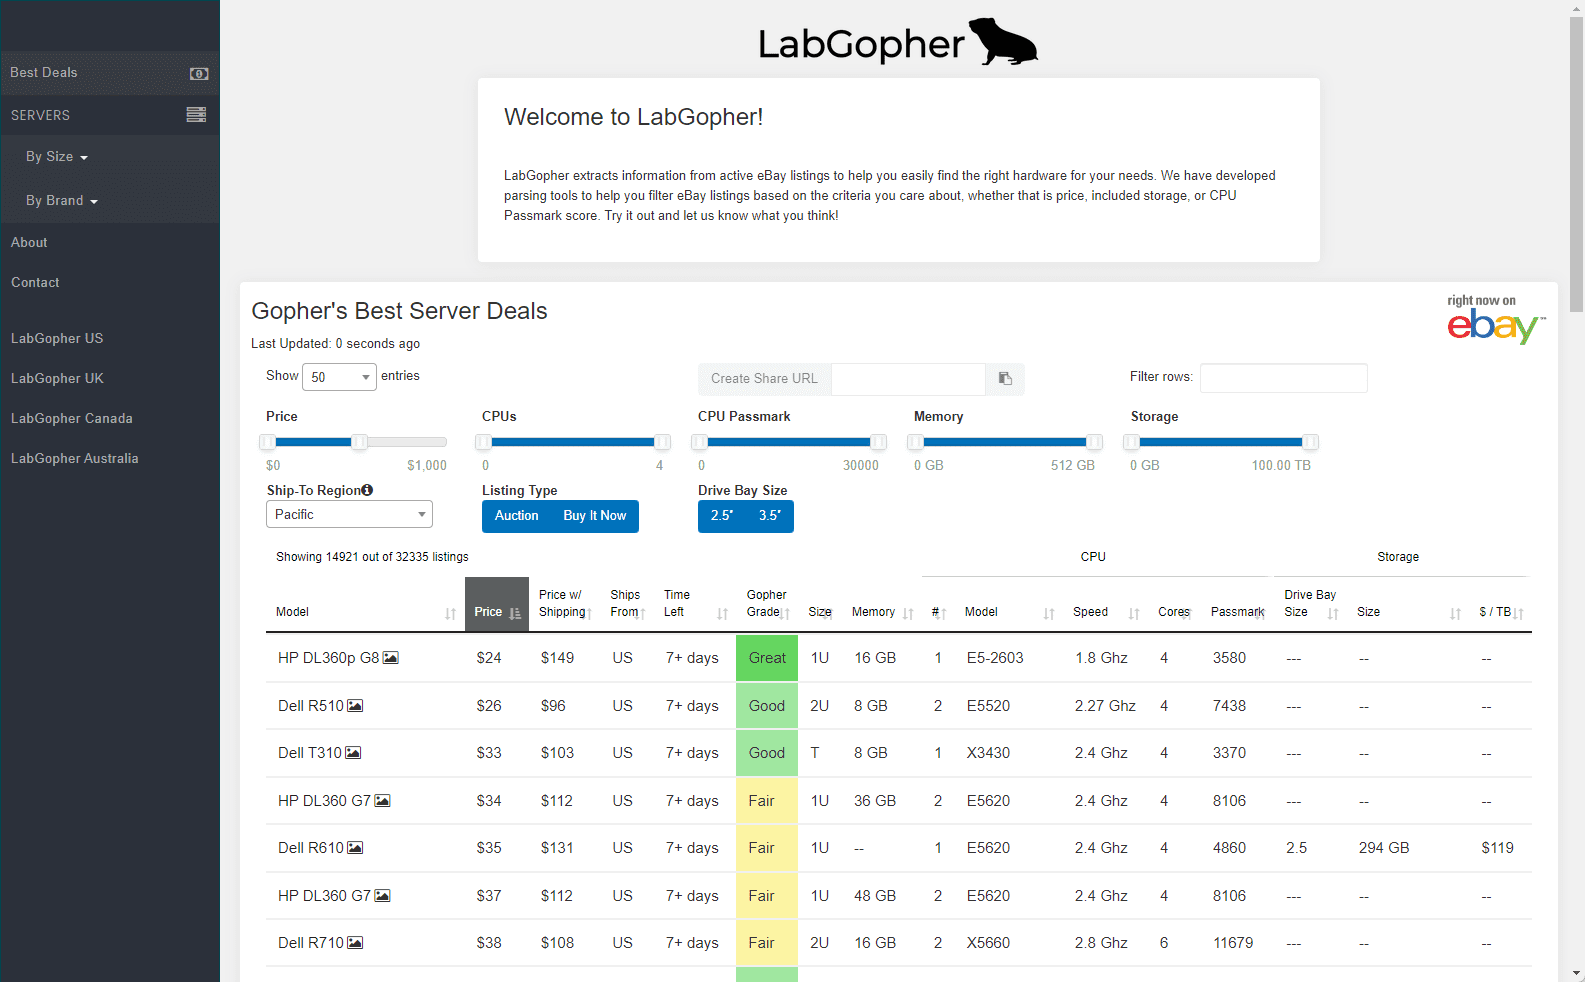
Starting a home lab server setup begins with procuring the right hardware. Servers come in a variety of configurations, offering different levels of performance, power consumption, and cost. When building a home lab server, balancing these factors is essential. Lab Gopher, a dedicated website for finding used server hardware deals, becomes an invaluable tool in this process.
Lab Gopher offers a user-friendly interface that efficiently categorizes, sorts, and filters server listings, predominantly from eBay. This helps users find the best fit for their home lab servers. The platform provides historical price trends and alerts for specific server models, assisting users in finding cost-effective deals.
With this tool, you can pay attention to factors such as power supply, energy efficiency for power considerations, and hardware support when making your selection. For instance, Dell servers, particularly the Dell server line, or Supermicro servers are popular choices due to their enterprise features, energy efficient performance, and rock solid reliability.
Visit Lab Gopher here:
2. Implementing an Open-Source Hypervisor: Proxmox VE, XCP NG, and More
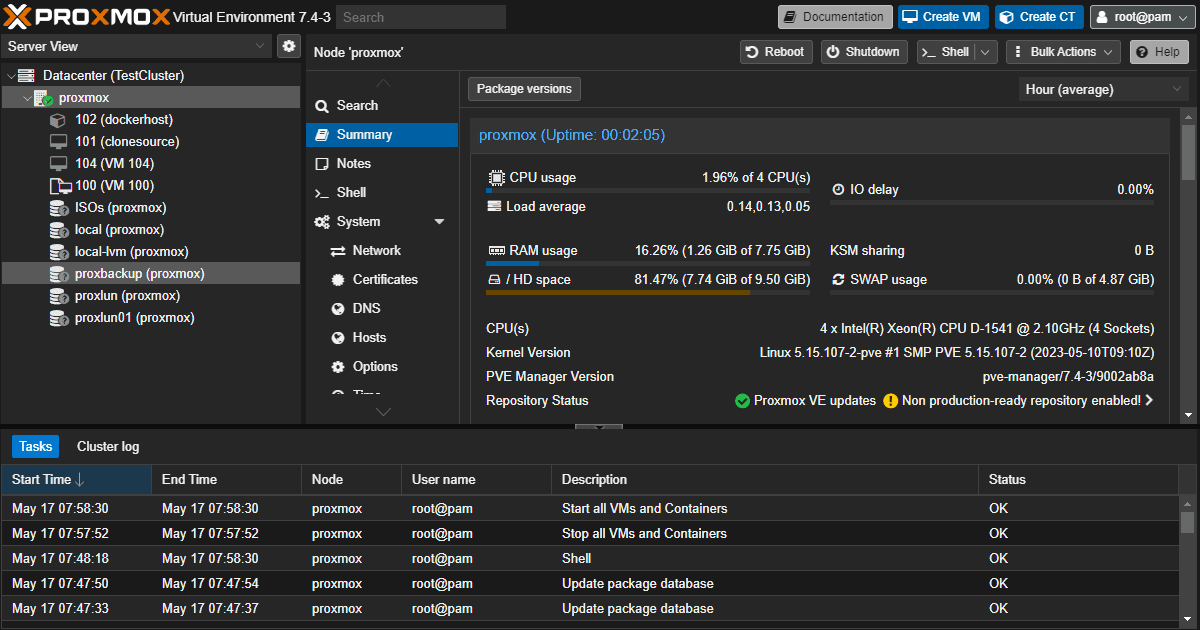
Once you’ve procured your hardware, the next step in your home lab setup involves installing an open-source hypervisor. While VMware vSphere with a VMUG subscription is hard to beat, many prefer using fully open-source software in their labs. There are great open-source hypervisors to choose from. Hypervisors like Proxmox VE and XCP NG are fundamental to creating and managing virtual machines in your home lab environment.
Proxmox VE, for example, is a comprehensive open-source server management platform that allows creating and managing virtual machines and containers. It supports ZFS, a combined file system and logical volume manager, providing robust data security and local storage management.
Similarly, XCP-NG is an open-source hypervisor based on XenServer. It offers advanced features such as live patching and enhanced storage performance. By leveraging these open-source hypervisors, you can optimize your home lab servers for better performance, reduced power consumption, and improved data security.
3. Containerization with Docker
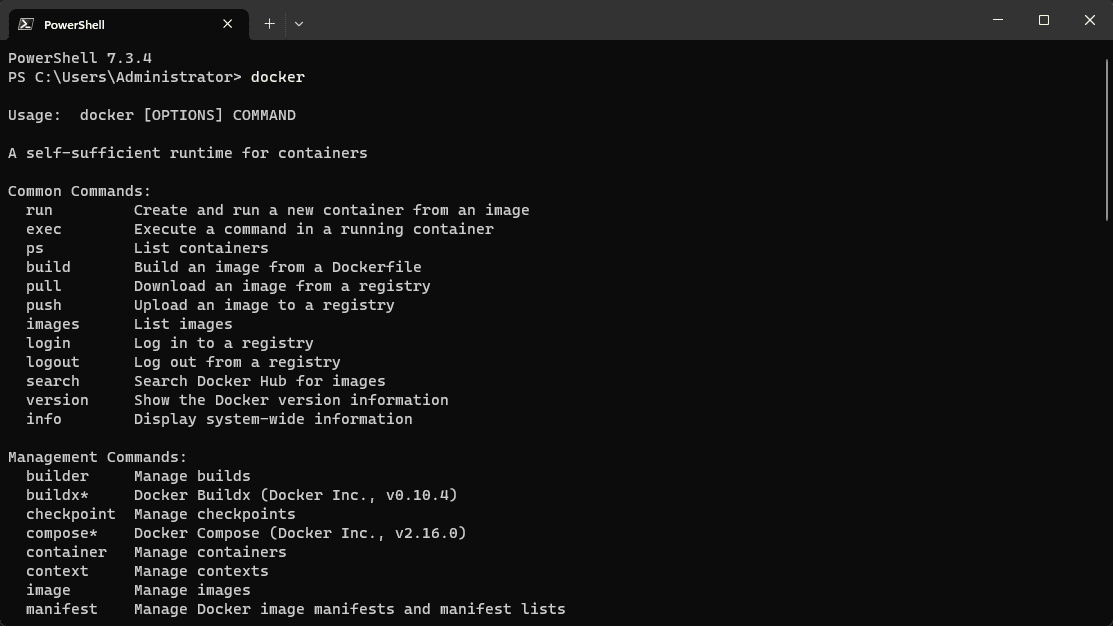
With your hypervisor in place, the next step is to explore containerization, and Docker is the industry standard for this. Docker provides a way to package and distribute software across different environments. In a home lab environment, Docker enables you to spin up applications within containers quickly and easily and it is a great way to make the best use of your hardware resources, since you don’t have to spin up full virtual machines to run applications.
Installing Docker in your home server enhances your ability to test and deploy applications. Docker’s low power consumption and ability to run on various hardware options, including low-power home servers, make it an excellent addition to any home lab setup. It provides a sandbox environment to learn new skills and gain hands-on experience.
4. Enhancing Docker: Portainer and Other Docker Tools
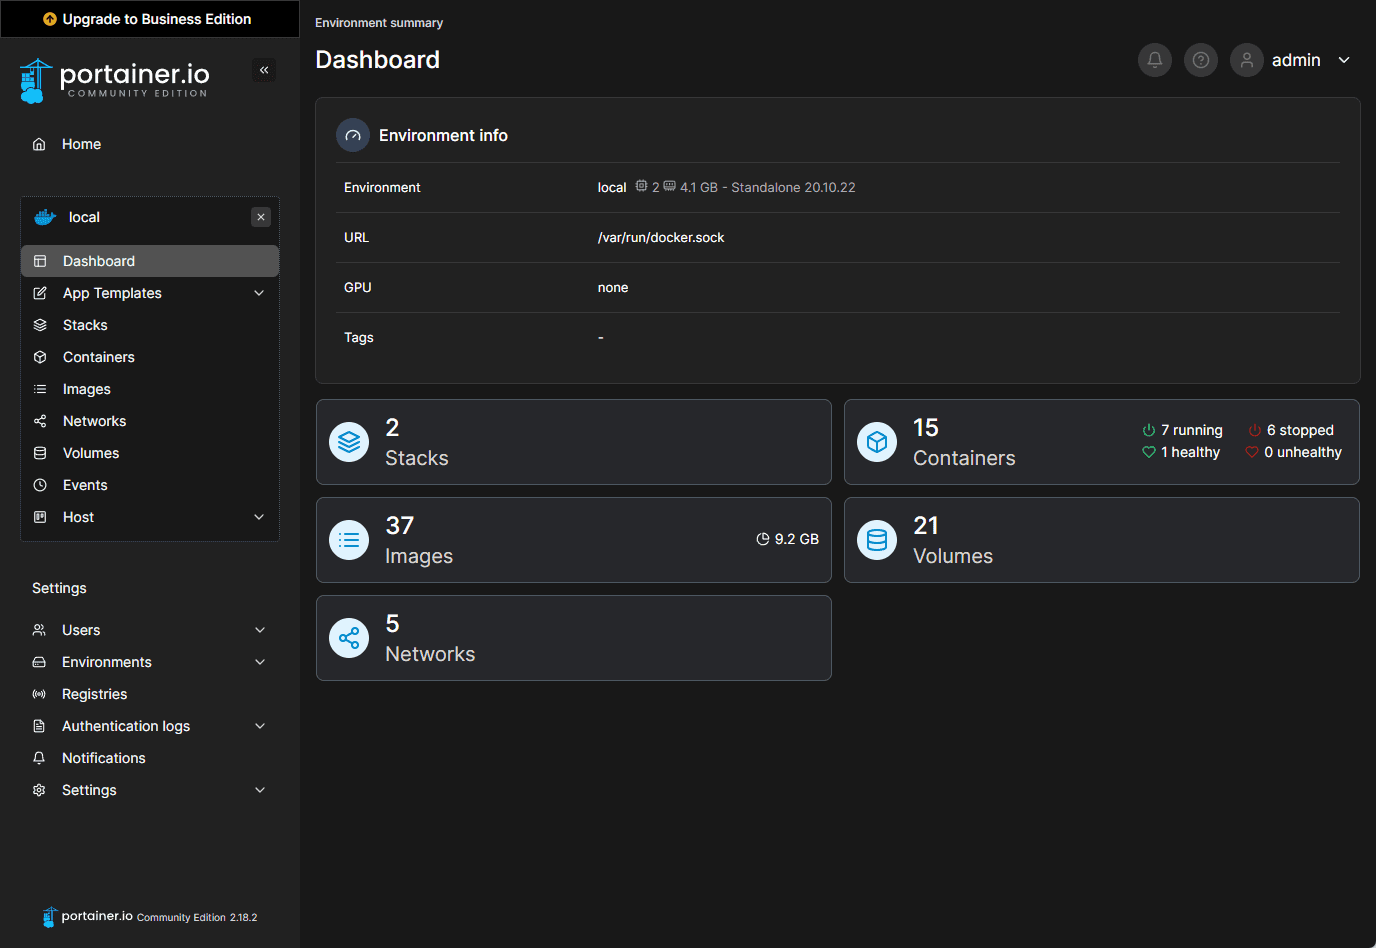
Once Docker is installed, Docker tools like Portainer can streamline container management and help those beginning their journey in Docker and containerization and eventually Kubernetes, understand the concepts with a GUI interface.
Portainer is an open-source tool with a graphical interface to manage your Docker environments. This can simplify managing containers, images, networks, and volumes. With Portainer, you can also monitor Docker performance, check logs, and even access a console within any container. This user-friendly tool can transform your home lab server into a powerful, efficient development environment.
Portainer Community Edition is totally free to download and use without limits in the home lab environment. However, Portainer also has a very appealing home and student license you can use to have full access to the Business features for a number of nodes. Check that out here:
5. Kubernetes
To manage your Docker containers at scale, Kubernetes is a must-have tool. Kubernetes is an open-source platform designed to automate containerized application deployment, scaling, and management. It groups containers that make up an application into logical units for easy management and discovery.
Incorporating Kubernetes into your home lab setup allows you to build and deploy applications more efficiently. This tool also enhances your learning experience, as Kubernetes is extensively used in production environments.
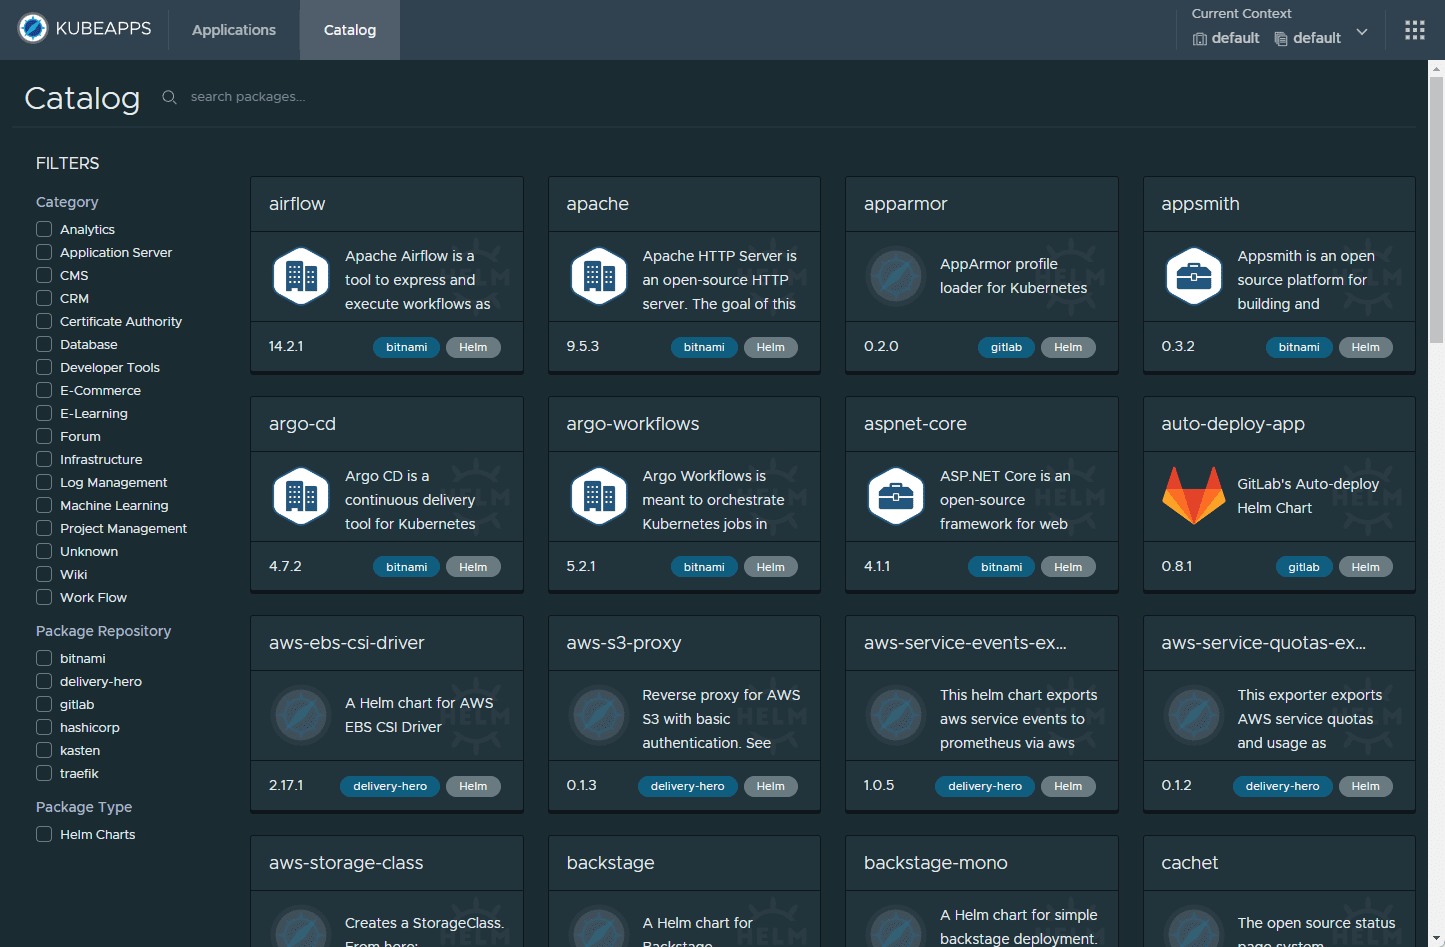
Below is a shot of Kubeapps, an application in itself that runs in Kubernetes and allows you to easily install other applications in your environment.
6. Harnessing the Power of AI: ChatGPT and Other
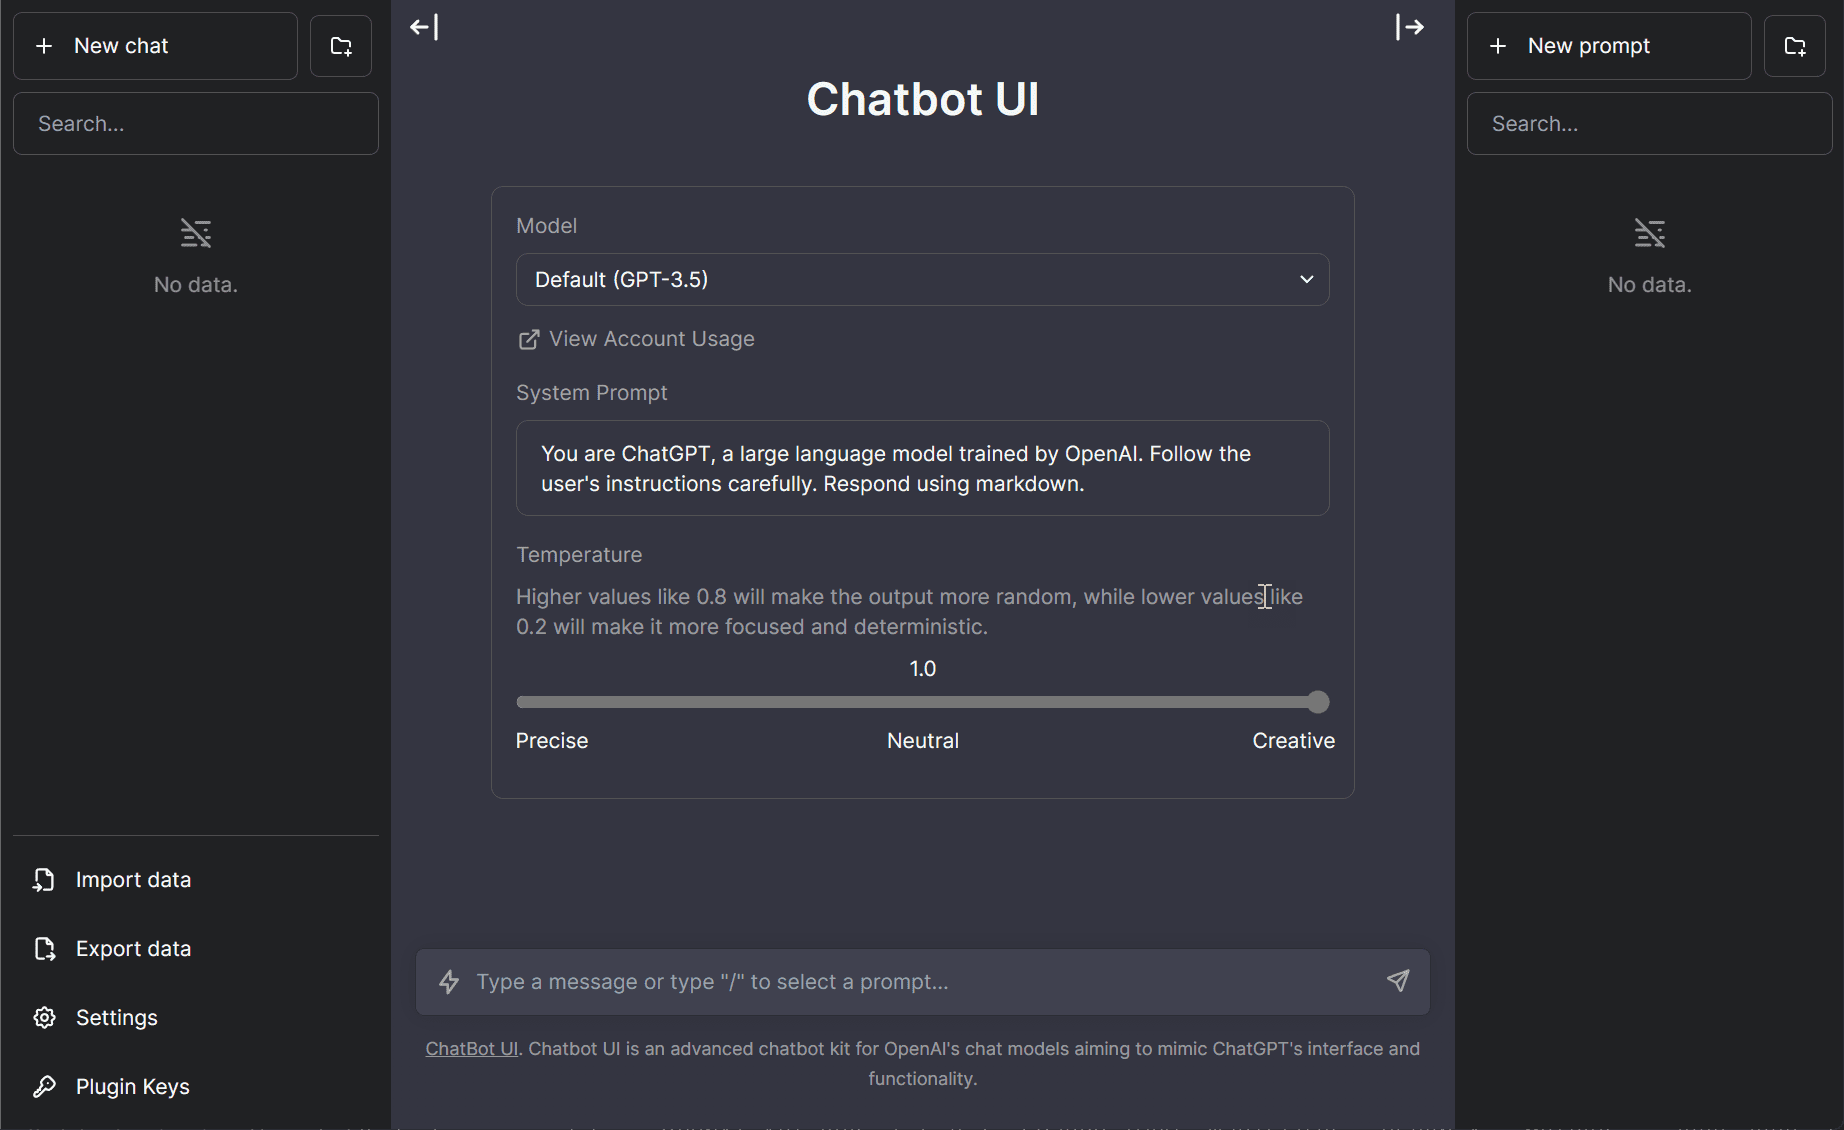
AI has made its way into almost every aspect of technology, and home labs are no exception. AI tools like ChatGPT can be a beneficial addition to your home lab server setup. These tools can help improve your code, automate tasks, and even generate reports.
ChatGPT, for instance, can assist in writing DevOps code, creating better documentation, and troubleshooting issues. For example, if you want to quickly get up to speed on Docker Compose code or Terraform, I recommend getting your feet wet in the lab environment with code examples. When you hit roadblocks and can’t figure out syntax or other aspects of your code, toss it at ChatGPT, and it will most likely get you past syntax and other code issues you may have.
7. Streamlining with DevOps Tools: Terraform and Ansible
Consider incorporating DevOps tools such as Terraform and Ansible to wrap up your home lab setup. These tools help automate deployment and configuration, further enhancing the efficiency and capability of your home lab servers.
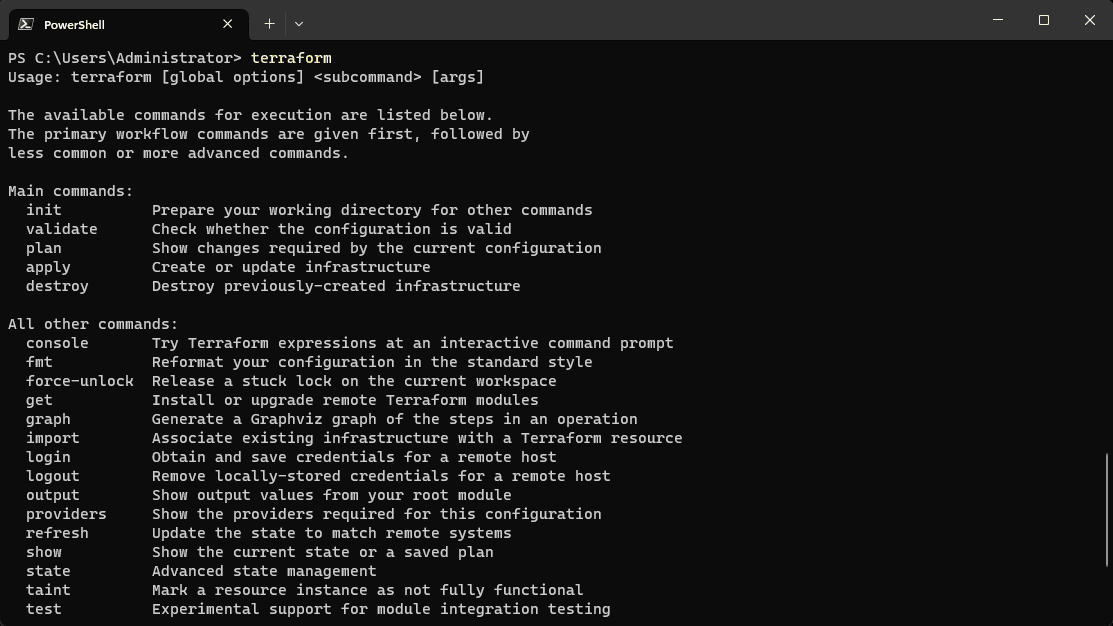
Terraform is an open-source tool that allows you to define and provide data center infrastructure using a declarative configuration language. It can manage existing and popular service providers and custom in-house solutions, making it an excellent tool for managing a diverse home lab setup.
By incorporating DevOps tools into your home lab, you can achieve a setup that closely mimics real-world production environments. This can provide invaluable hands-on experience and a deeper understanding of these tools and their applications.
Frequently Asked Questions (FAQs)
1. Why are home lab servers beneficial for learning new skills?
Home lab servers provide a real-world, hands-on experience that theoretical learning often misses. They allow you to experiment, make mistakes, and learn in a safe environment. In fact, building and maintaining a home lab server can boost your understanding of system setup, network configuration, hardware support, and data security, among other things.
2. What is the power consumption of a typical home lab server?
Power consumption varies widely depending on the equipment used. For instance, a low-power home server setup with an Intel NUC or a Raspberry Pi consumes significantly less power than a high-performance Dell PowerEdge or Supermicro server. Considering power consumption and cost in your home lab setup is important to ensure it is energy efficient and won’t spike your power bill.
3. Can I use a NAS server as part of my home lab setup?
Yes, NAS servers are excellent for home lab environments. They provide central, network-accessible storage, which can be extremely beneficial for storing data, running virtual machines, and more. However, remember to consider the number of SATA connectors and NVMe drives your server can support when planning your local storage.
4. How do Docker and Kubernetes enhance my home lab server?
Docker and Kubernetes revolutionize the way applications are deployed. Docker allows you to package an application with its environment into a standardized unit for software development, known as a container. Kubernetes, on the other hand, helps you manage these containers at scale. Learning and implementing these tools in your home lab setup can help you stay ahead in the ever-evolving IT world.
5. What are some energy-efficient options for home lab servers?
Low-power home servers, such as the Intel NUC, Raspberry Pi, or even certain Dell PowerEdge and Supermicro server models, are designed to be energy efficient. Also, using virtual machines can help maximize the usage of your hardware, leading to better energy efficiency.
6. How does a hypervisor like Proxmox VE fit into a home lab server?
A hypervisor, like Proxmox VE or XCP NG, allows you to run multiple virtual machines on a single physical server. This means you can have multiple servers running on your home lab server, each with its own operating system and applications, maximizing your hardware usage.
7. How can ChatGPT and other AI tools enhance my home lab experience?
AI tools like ChatGPT can help you write better code by suggesting improvements, catching errors, and even writing pieces of code for you. They can be a great addition to your home lab setup, especially when you’re working with DevOps tools like Terraform and Ansible.
8. Are home lab servers loud?
The noise level of a home lab server depends on its hardware components, particularly cooling fans. Some servers are relatively quiet, while others can be quite loud. If noise is a concern, consider a low-power home server, as they tend to generate less heat and thus require less cooling.
9. How can I remotely manage my home lab server?
Many servers, like the Dell PowerEdge, offer enterprise features such as remote management. Moreover, you can also use software solutions to access your server remotely. Tools like Ansible, an open-source software provisioning, configuration management, and application-deployment tool, can be instrumental for this purpose.
10. Can my home lab server affect other home devices?
If set up correctly, your home lab server should not affect other devices in your home. However, be aware of potential issues, such as increased power consumption, network congestion, or increased noise levels. It’s a good practice to separate your home lab network
Wrapping Up
Building a home lab server setup is a progressive task, and the tools you choose can significantly impact your experience and the skills you acquire. From sourcing hardware with Lab Gopher, setting up a hypervisor, containerization with Docker and its tools, orchestrating with Kubernetes, harnessing AI’s power, to finally streamlining tasks with DevOps tools, each step adds to the efficiency and capability of your home lab.



0 Comments