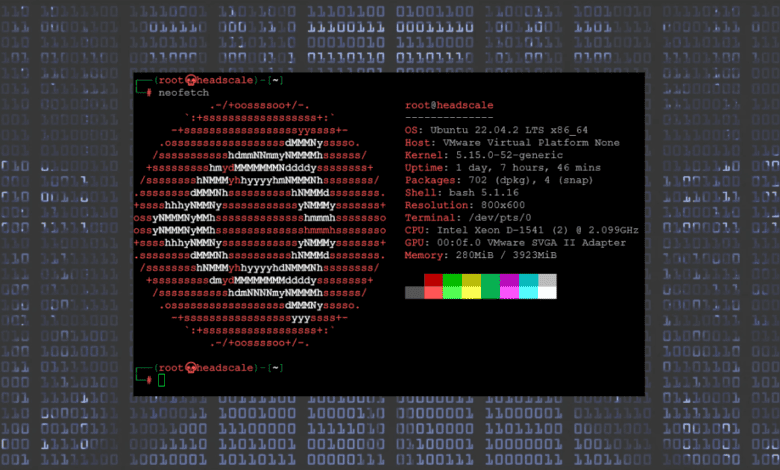
Welcome to a deep dive into the world of Neofetch. If you have not heard about it before, it is a system information tool that has made quite a name for itself in the tech community. This CLI system information tool is a favorite among users looking to fetch and display their operating system and hardware details.
What is Neofetch?
Neofetch is a system information tool written in Bash shell scripting language. Developed by Dylan Araps, this handy tool made its first appearance on December 31, 2015. It offers a snapshot of your system’s configuration, displaying details of your operating system, package manager, desktop environment, window manager, and much more, all in a compact ASCII art or image format.
It displays information in a way that is easy to read, effective, and a great way to showcase details of an operating system when creating how-to articles, documentation, etc. You can display advanced statistics and information by enabling modules such as you can enable coretemp kernel module and display these statistics along with others.
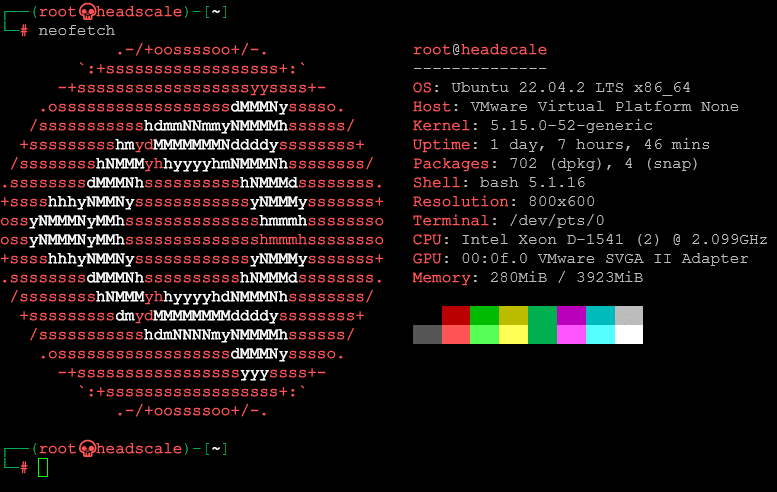
Below is an example of running the command from the command line to display default output.
The Engaging and Collaborative Community Behind Neofetch
Open-source projects thrive when they are backed by a vibrant, engaged, and collaborative community. It is a widely-loved system information tool, and the community following stands as a testament to this fact. The Neofetch community is not just a group of users but contributors who actively participate in enhancing and maintaining the tool.
Neofetch is more than a simple command-line utility. It’s a symbol of the power of community collaboration in open-source projects. The Neofetch community includes developers, users, and enthusiasts who actively contribute to the tool’s growth and development.
What makes the Neofetch community particularly noteworthy is its commitment to problem-solving. Whether it’s about fixing a bug, enhancing a feature, or clarifying doubts, the community is always ready to step in. Common issues, like memory output discrepancies, inaccurate distro names, or GPU model detection problems, have been resolved through active discussions and contributions from the community-1htop, conky, Screenfetch, Neofetch and a lot of other programs were displaying the incorrect memory usage amount. Almost all of the programs I could find have been updated to fix this but there are still a few programs displaying incorrect usage.
Documentation
The Neofetch community is also involved in documenting the tool. They maintain a comprehensive wiki that helps users navigate and better understand Neofetch. The community-powered wiki is a treasure trove of information, from installation guides to FAQs and detailed explanations of features.
You can view the the Wiki here: Home · dylanaraps/neofetch Wiki · GitHub
As an open-source project, it is always open to contributions. Whether you’re a seasoned developer or a newbie eager to dip your toes into the world of open-source, the Neofetch community welcomes you. From coding to testing and documenting, there’s a lot you can contribute to.
Exploring Neofetch: A Detailed Look
The Essence of Neofetch
At its core, it is designed to provide essential system information in a digestible format. Unlike a system monitor, it presents a static display of your computer’s configuration and versions. It’s a tool that supports Linux, macOS, BSD, Windows, iOS, Android, and even more obscure operating systems like GNU Hurd, Haiku, IRIX, MINIX, Solaris.
Unveiling the ASCII Art
One distinctive feature is the ASCII logo displayed alongside your system information. Your operating system’s logo is rendered beautifully in ASCII art, adding a dash of visual flair to the otherwise text-based output. The ASCII backend takes care of this and offers a delightful experience to the user.
Neofetch vs. System Monitors: A Comparative Analysis
Neofetch and system monitors serve different purposes. While system monitors provide real-time data about the system’s operation, It offers a static snapshot of your system’s configuration and supports newer intel processors and their information as well. It’s a quick and easy way to see your system information without getting lost in the maze of real-time data that system monitors often present.
How to Install and Use Neofetch
Installing Neofetch
For most Linux distributions, installing Neofetch is as simple as running the command below:
sudo apt install Neofetchin your terminal app. You might need to use a different package manager if you’re using a different operating system. Remember to run:
sudo apt updatebefore installing to ensure you have the latest packages.
Using Neofetch
Once installed, using Neofetch is straightforward. Simply type the command “Neofetch” into your terminal, and you’ll see your system information displayed beautifully in your terminal window.
Customize Neofetch command
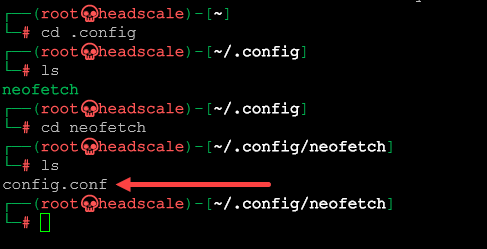
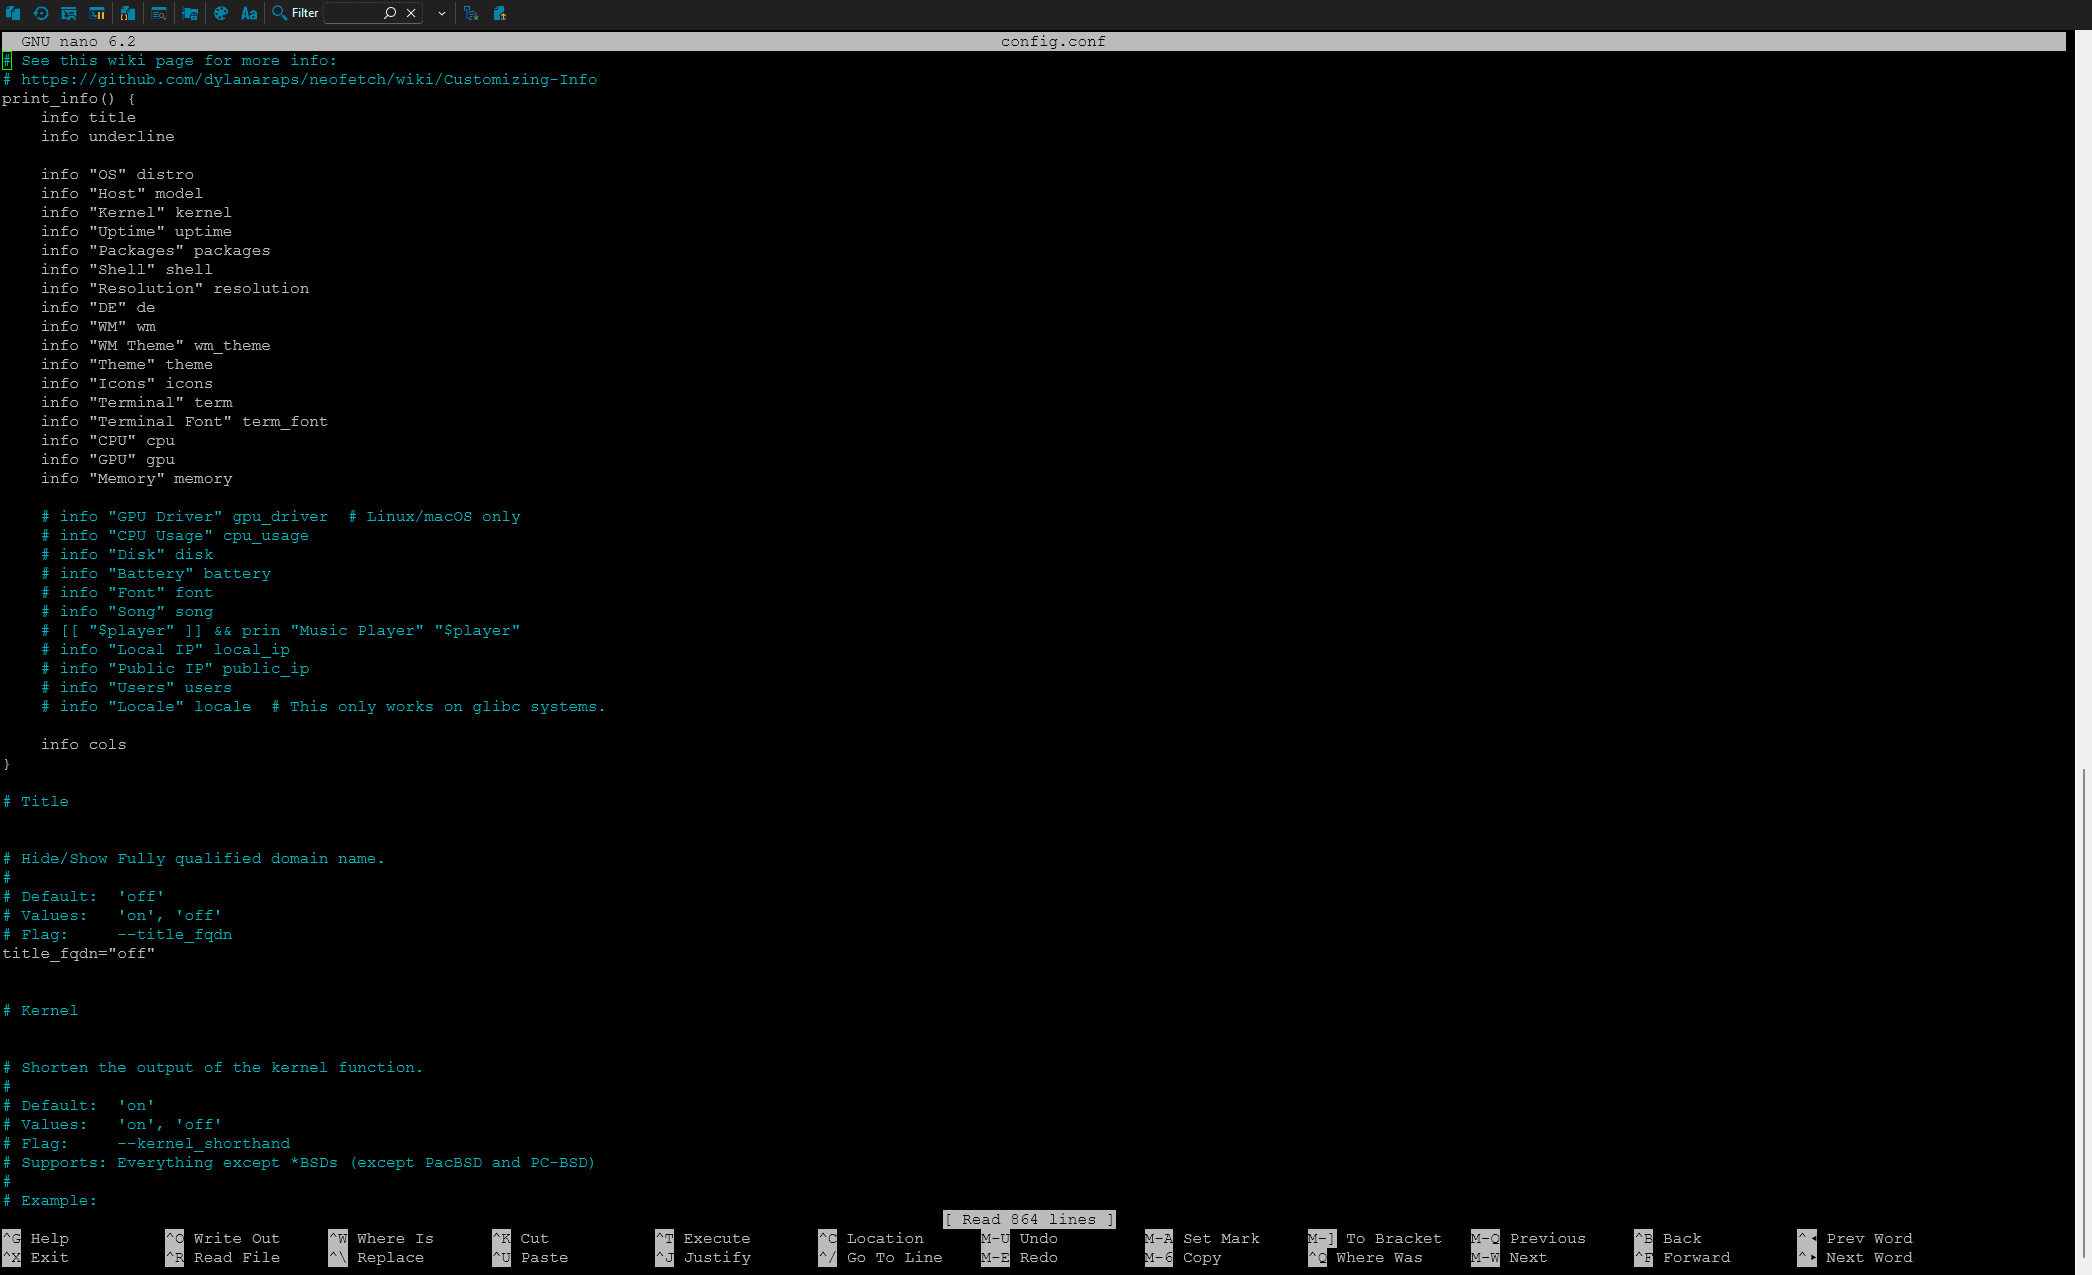
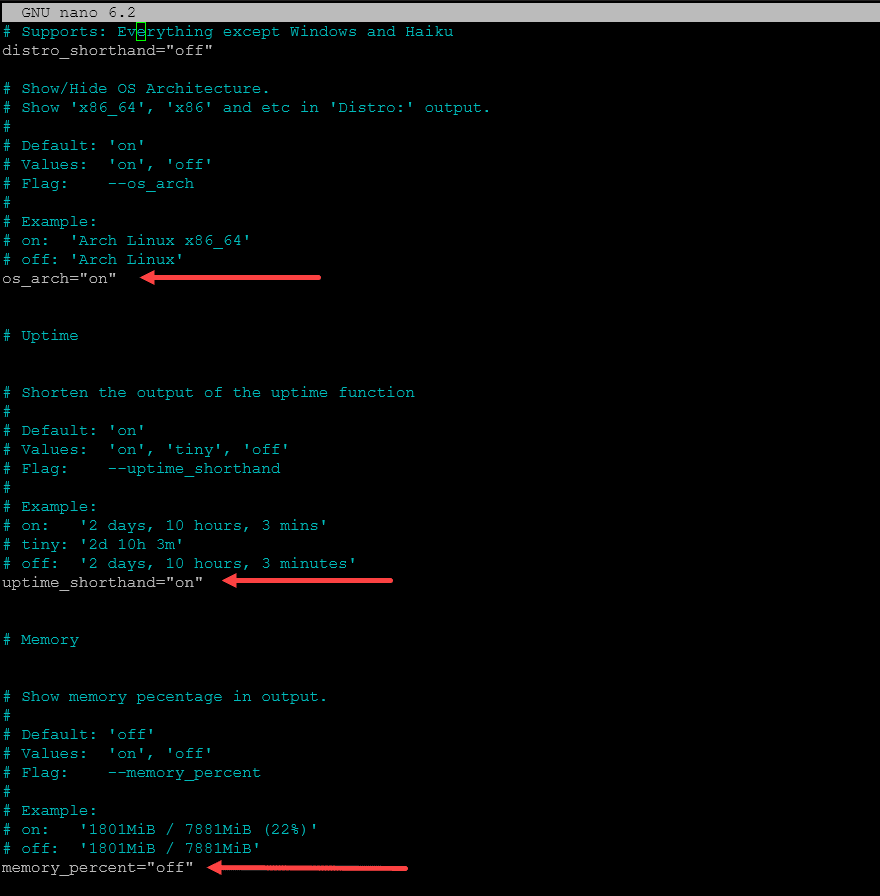
Customizing the output involves modifying the Neofetch configuration file, which allows you to change what info is displayed and how it is displayed. The config file can be found at ~/.config/neofetch/config.conf and can be edited with any text editor.
Here are some of the options you can customize:
Info: You can modify the print_info() function to choose which system information to display and in what order. Each piece of information is represented by a function that prints it. For instance, info “OS” distro will print the operating system. Commenting out a line will prevent that information from being displayed. There are other command line flags that can be used as well such as for custom images.
Colors: Neofetch allows you to customize the colors of the output. For instance, you can modify the color_blocks function to change the colors of the blocks that appear next to the system information.
Ascii Art: By default, Neofetch displays ASCII art of your OS logo, but you can customize this. The ascii function controls this, and you can set ascii_distro to the name of any supported OS to display that OS’s logo. You can also set ascii_distro to ‘ascii’ to use an ASCII art file of your choice, which you specify with ascii_file.
Images: Neofetch can display images in the terminal if you set image backend to ‘w3m’ and image_source to the path of the image file you want to display.
FAQs on Neofetch
Does Neofetch Support My Operating System?
Neofetch supports a broad range of operating systems, from popular ones like Linux and macOS to more obscure operating systems like GNU Hurd and Haiku.
Can I Customize the Neofetch Display?
Yes, Neofetch is highly customizable. You can modify its config file to change what information is displayed and how it looks. You can even replace the ASCII logo with a custom image if you prefer.
Is Neofetch compatible with my operating system?
It is compatible with a wide variety of operating systems including Linux, macOS, BSD, Windows, iOS, Android, GNU Hurd, Linux Mint, Haiku, IRIX, MINIX, and Solaris.
Why does Neofetch sometimes report an inaccurate distro name?
Neofetch identifies a Linux distro by looking for the lsb_release command before searching for the /etc/os-release file. This can sometimes result in Neofetch displaying the name of an upstream distro instead of a downstream one. This is particularly common with distros that use the repositories of their upstream counterparts. For instance, if lsb_release is installed on Antergos (a downstream distro), Neofetch will identify the system as Arch (the upstream distro). To work around this, users can remove the lsb-release package, provided that the distro has properly filled their /etc/*-release file.
Wrapping up
Neofetch is an excellent command-line tool that beautifully displays system information. If you run a lot of Linux in your home lab (which you should :-P), it offers a quick and aesthetic snapshot of your system’s details. Give it a try and discover the power of this command-line jewel.


0 Comments