Just a couple of days ago, I posted a new post covering the installation of Talos Linux on VMware vSphere. Talos is a great platform to run Kubernetes consistently and with security as a primary focus. We can also benefit from running Talos Linux for Proxmox Kubernetes cluster configurations. Let’s consider an example of provisioning Talos Linux in Proxmox.
The benefit of Talos Linux
Talos is a great platform for running Proxmox Kubernetes or running Kubernetes on multiple virtualization platforms. Even though you can run very tiny Kubernetes distributions like k3s or k0s, you still need an underlying operating system to run these container orchestration platforms.
Talos covers both bases with a tiny Linux platform with Kubernetes baked in that is also an API managed operating system. It means there is no shell or interactive console like other Linux versions.
Also, it can be ran on bare metal and installed from an ISO image. This is the approach we will take a look at with Proxmox Kubernetes with Talos Linux.
Install Talos Linux in Proxmox
Let’s now look at the process to install Talos Linux in Proxmox. Unlike VMware vSphere, we don’t have an OVA appliance or install script. Instead, with Proxmox we use the ISO installation process.
Note the following overview of steps needed for Proxmox Kubernetes install with Talos Linux:
- Install talosctl command line tool
- Download the Talos Linux ISO and upload to Proxmox
- Create a VM(s) for control plane and worker nodes
- Boot the Talos Linux virtual machines in Proxmox and note Control Plane IP
- Generate the config files with the talosctl command
- Apply the control plane node configuration
- Bootstrap the cluster
- Apply the worker node configuration
1. Install talosctl command line tool
You can easily install the talosctl command line tool with the following command on your Linux workstation or WSL installation in Windows:curl -sL https://talos.dev/install | sh
2. Download the Talos Linux ISO and upload to Proxmox
After you have the talosctl command line tool installed, one of the next tasks to complete is download the Talos Linux ISO and upload this to Proxmox.
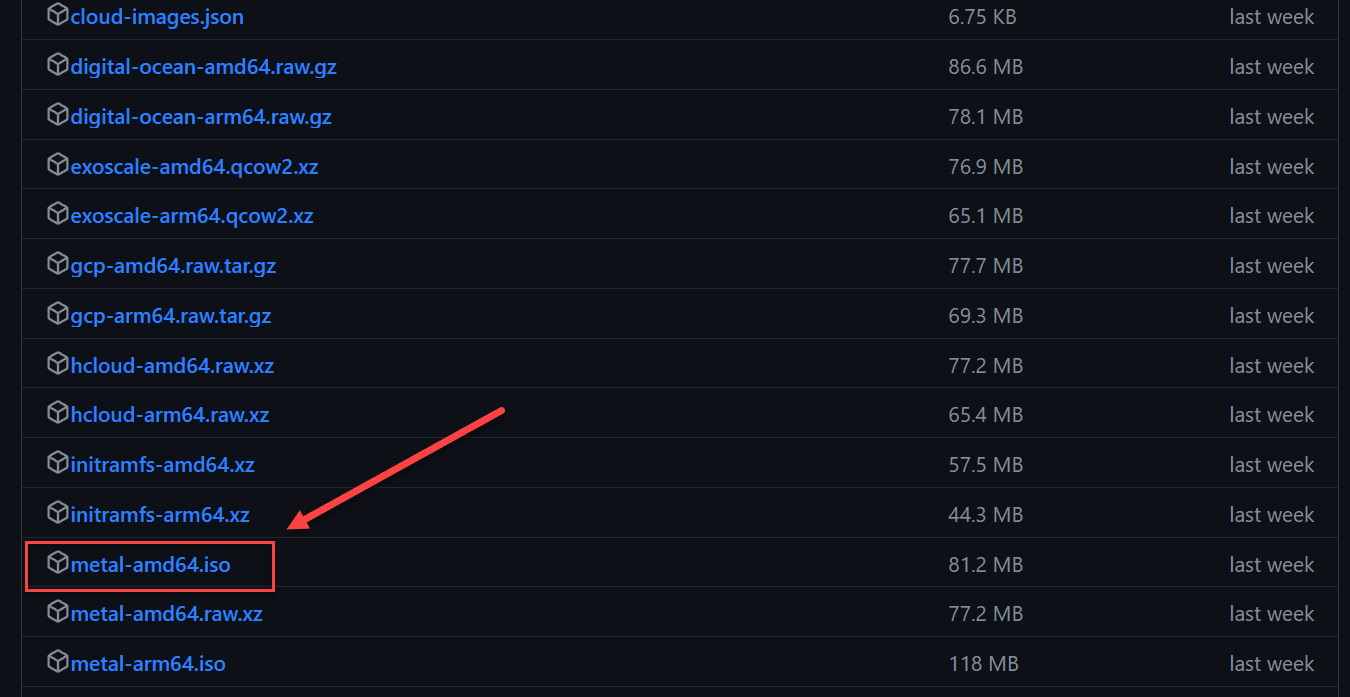
You can download the Talos Linux ISO image from the official releases link on the Github repository here: Releases · siderolabs/talos · GitHub.
Download the ISO for your architecture. For Proxmox, we will download the metal-amd64.iso file.
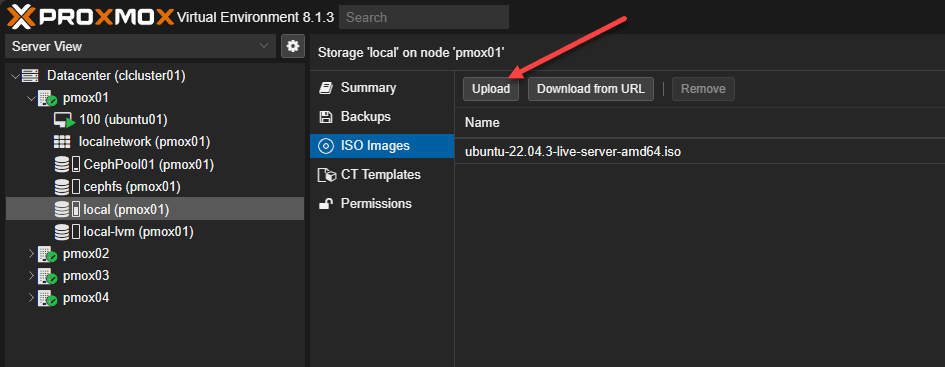
Now, we will upload the file to our Proxmox image repo. Click your local storage or other storage marked for ISO storage and click the Upload button.
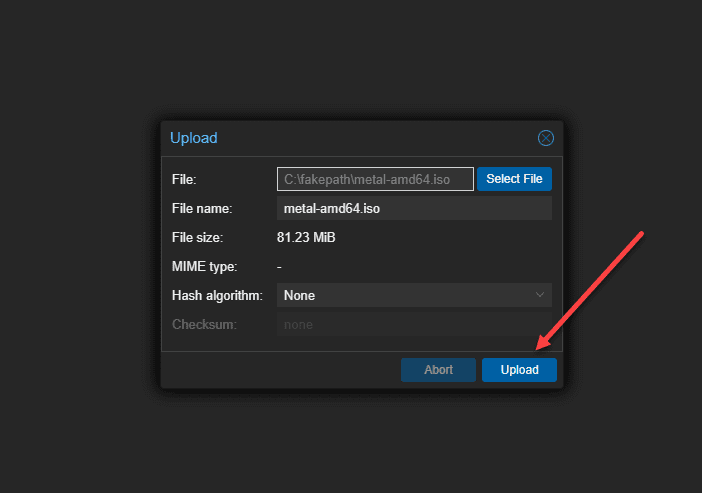
Choose the metal-amd64.iso file you downloaded above and then click the Upload button again.
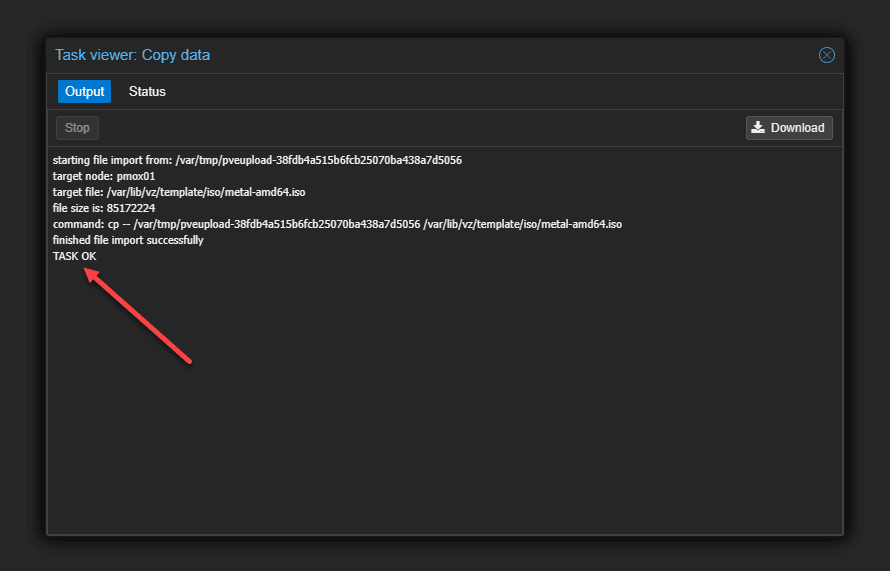
The upload task completes successfully.
3. Create VMs for control plane and worker nodes
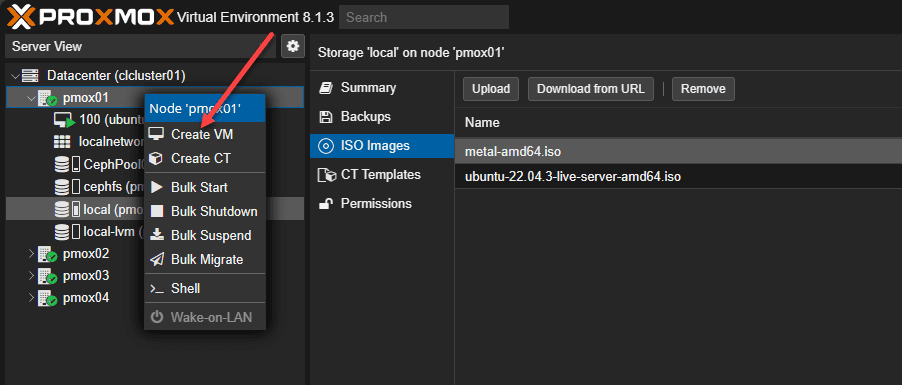
Now that we have the ISO image uploaded for Talos Linux to our Proxmox host, we can create a new VM. Right-click the host you want to use to create the VM, and click Create VM.
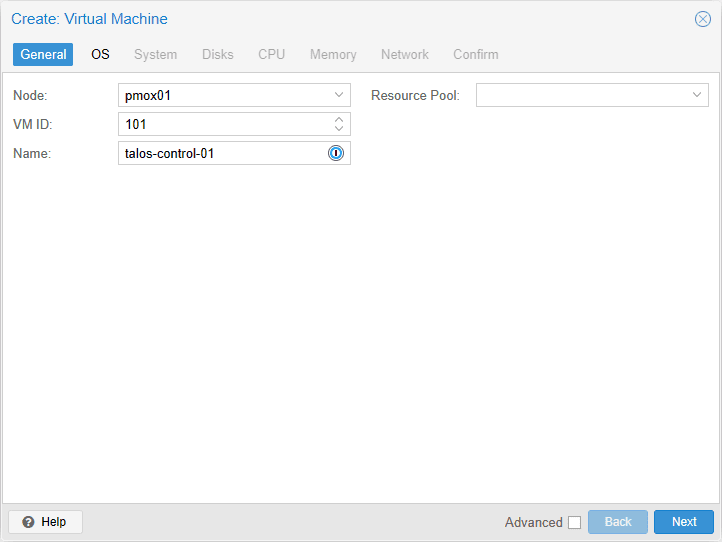
It will launch the Create Virtual Machine wizard. (Note switching to light mode to make the options stand out a bit more).
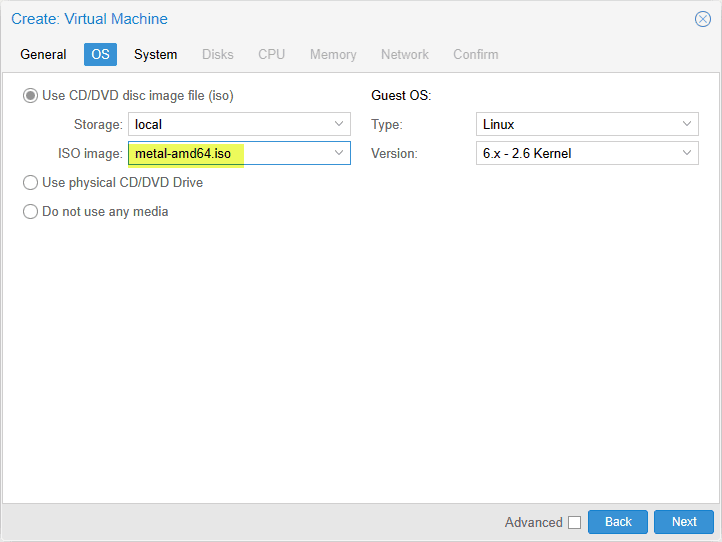
Choose your ISO image file on the OS screen.
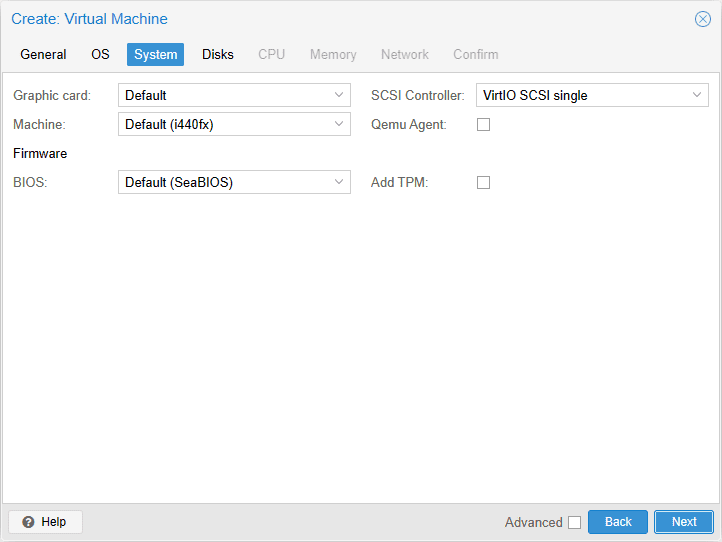
Leave the defaults on the System tab.
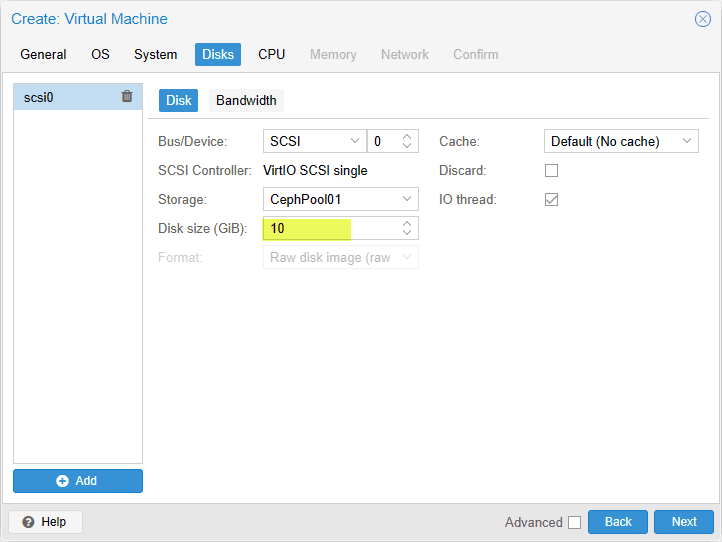
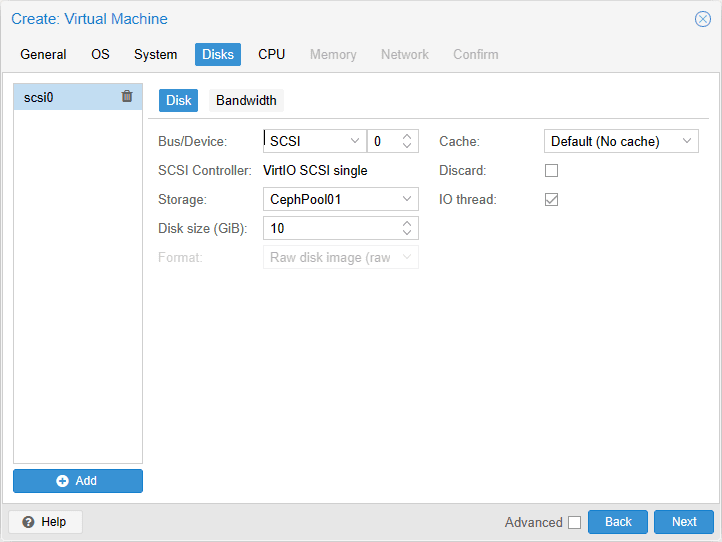
Here I have lowered the size of the disk to 10 gig. If you need larger disks though this is fine too.
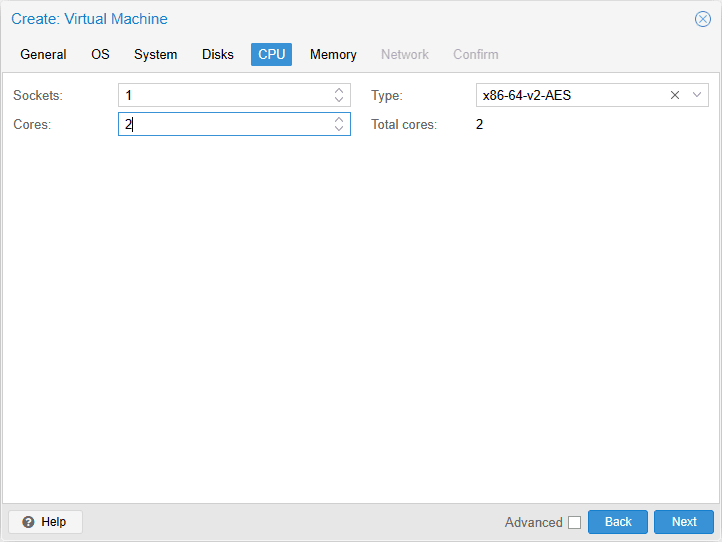
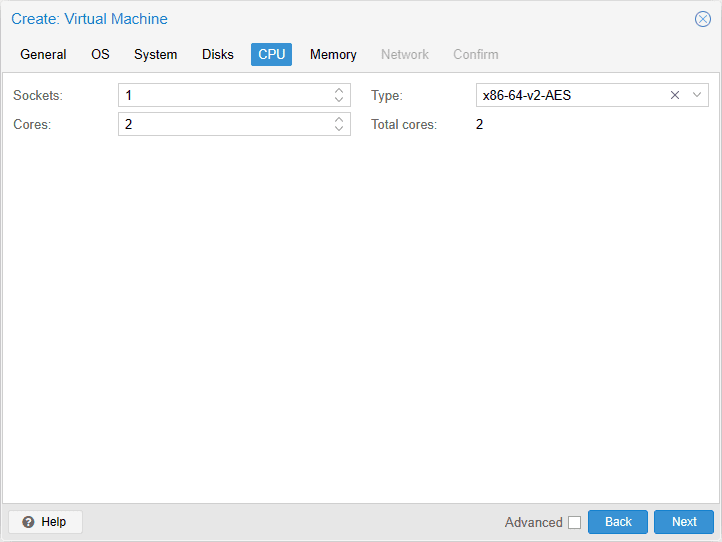
Adjust the CPU sockets and Cores as desired on the CPU screen.
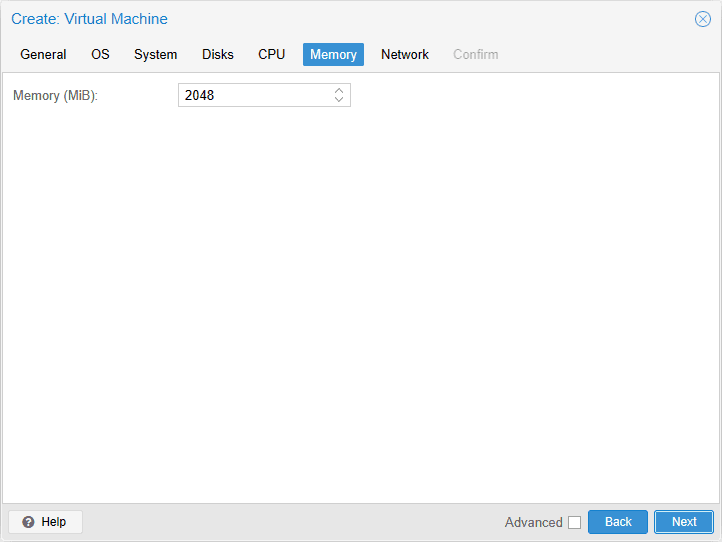
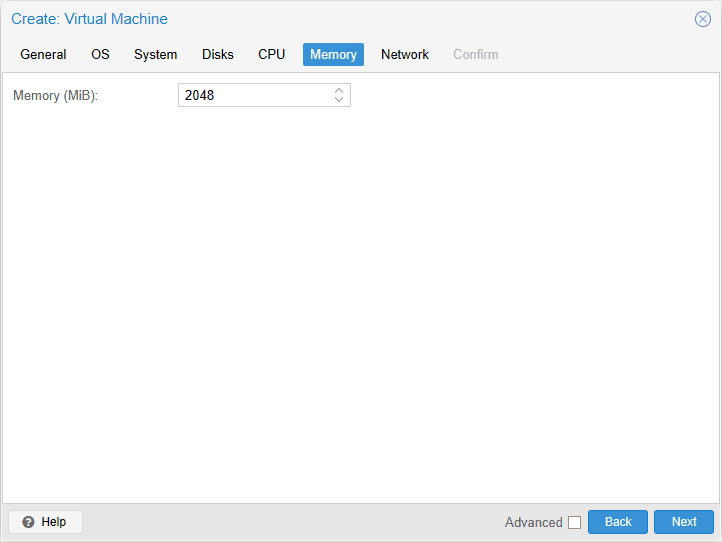
Also, adjust the Memory on the memory screen.
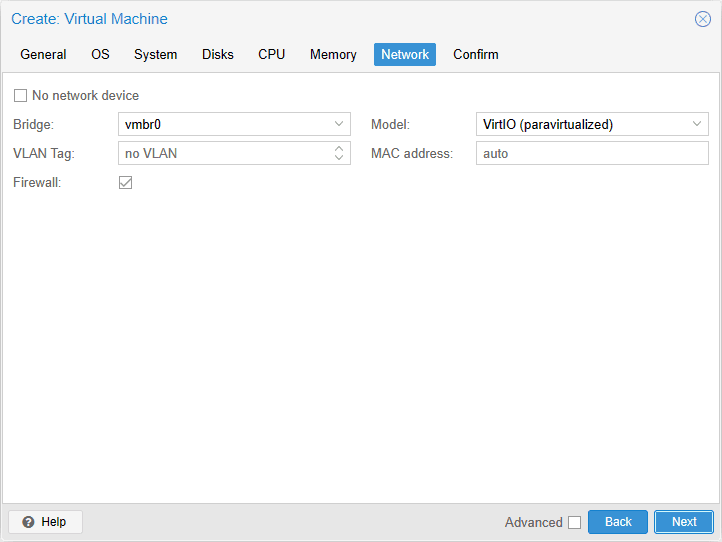
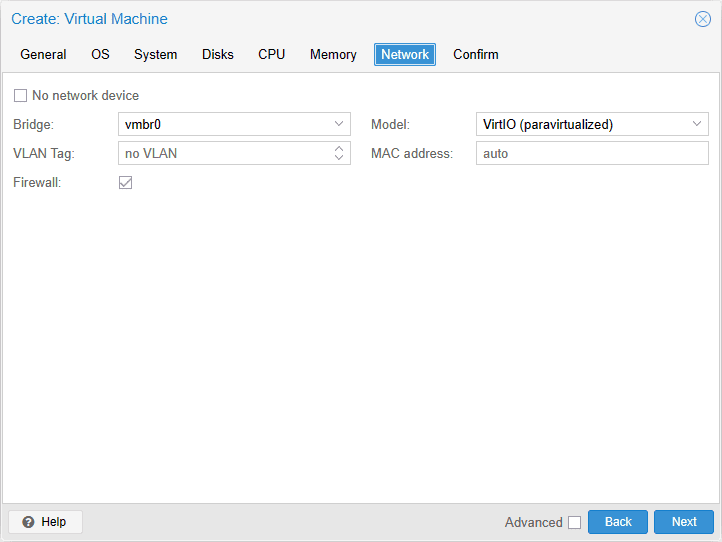
Choose the network connection you want to use for the Talos Linux virtual machine control plane VM on the Network tab.
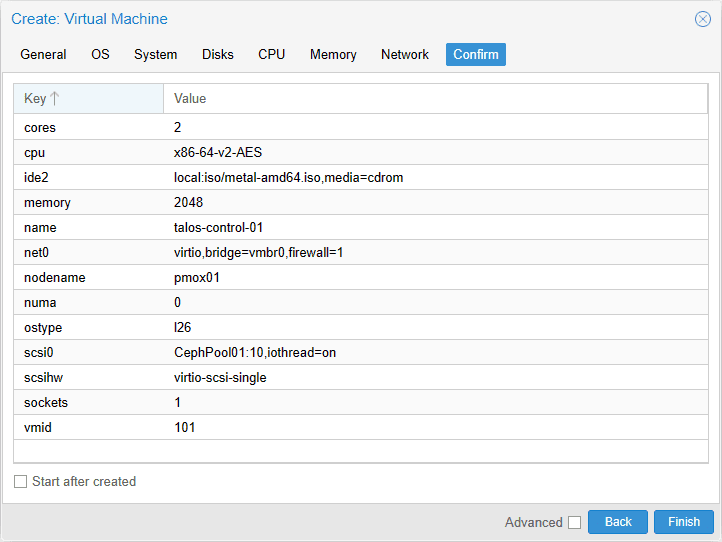
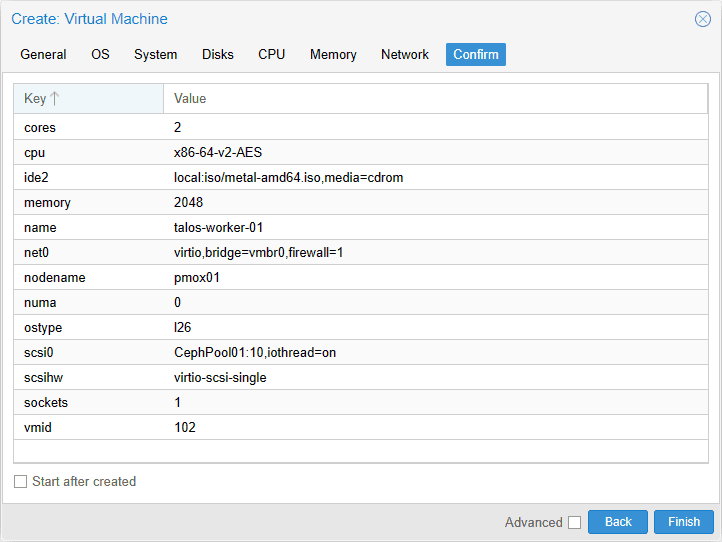
Confirm the options on the Confirm screen.
Create the worker node virtual machine in Proxmox
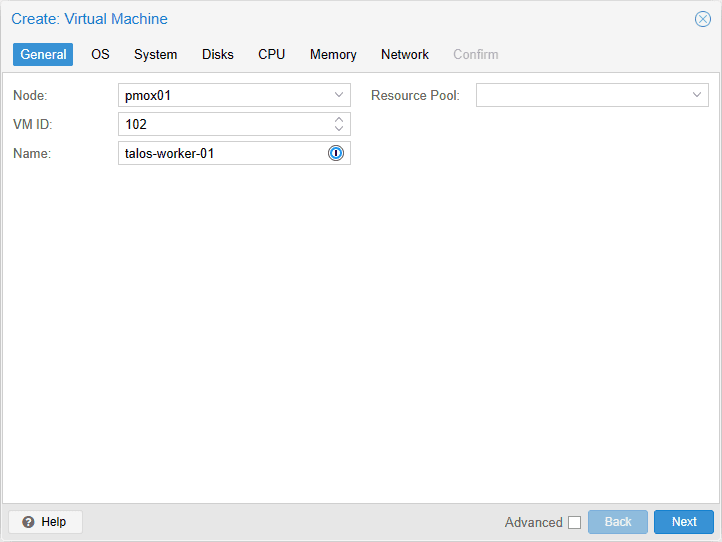
We are creating the first Talos Linux control plane virtual machine on the general screen. As a note, I am using the exact same options as the control plane virtual machine above, so the following screenshots are just here for posterity.
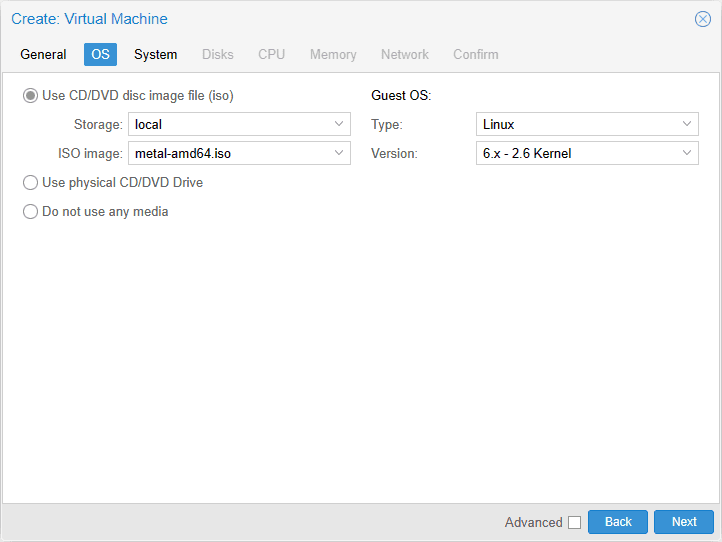
Choose the ISO image for Talos Linux.
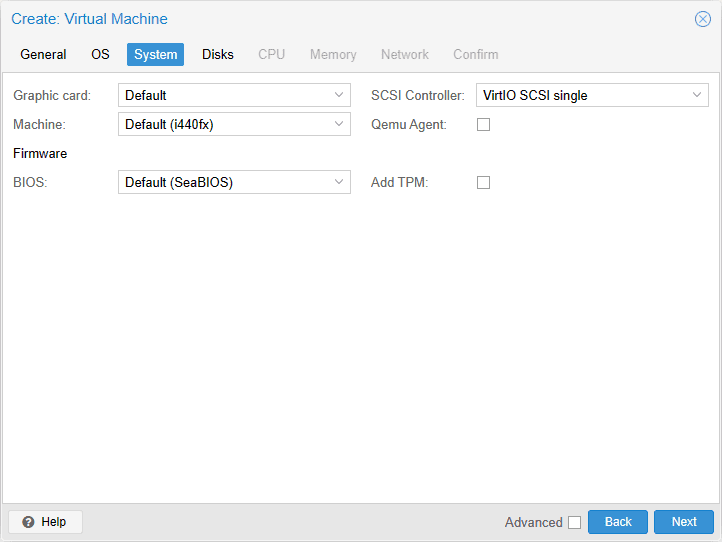
Leave the defaults on the System screen.
Adjust the disk sizes as needed. It doesn’t require much.
Configure the CPU.
Configure the worker node memory.
Configure the network connection.
Confirm the configuration settings.
4. Boot the Talos Linux virtual machines in Proxmox and note Control Plane IP
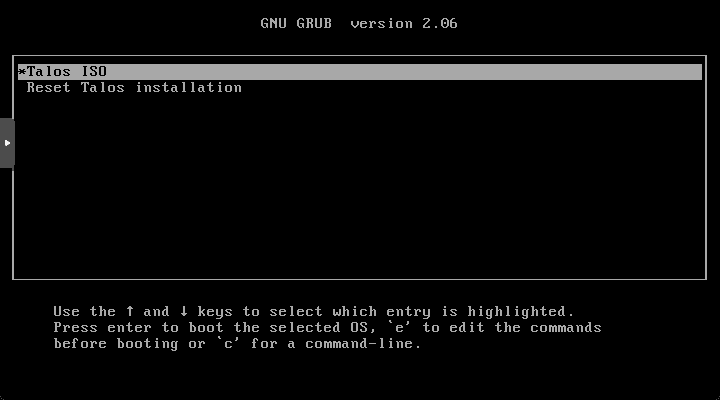
Boot your control plane virtual machine from the Talos ISO. You will see the following.
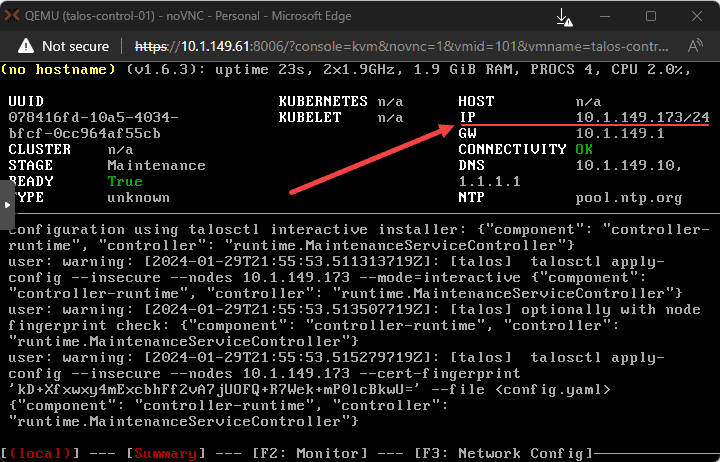
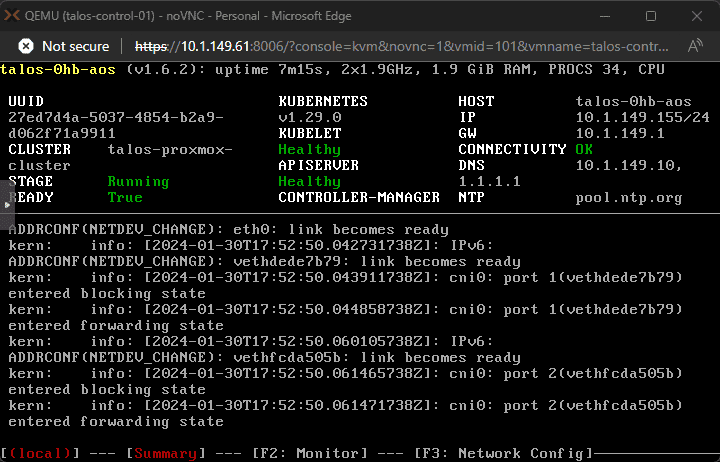
The nodes will boot to the following screen and should pull an IP address from your DHCP server. Take note of the IP address that your control plane node has autoconfigured with. You will see the node is in Maintenance mode, ready for the bootstrap process. There is a lot of other information we can gain from the console of the control node, including the Talos version, kubelet state, kubernetes version, etc. Also, there is even a bit of navigation you can do as you see at the bottom of the screen, you can press F2 for monitor and F3 for network config.
5. Generate the config files with the talosctl command
Now that we have the IP address of our Proxmox virtual machine that is running the Talos Linux control plane node, we can generate the machine configuration files needed for our Kubernetes cluster.
First, we will export an environment variable for our control plane node so we can reuse this in the talosctl commands. Replace with your IP address.export CONTROL_PLANE_IP=10.1.149.173
Next, we will use the control plane node IP to generate the machine configuration files for the control plane nodes and worker nodes.
talosctl gen config talos-proxmox-cluster https://$CONTROL_PLANE_IP:6443If you want to configure the output directory where the machine configuration files are placed, you can do that with this command:
talosctl gen config talos-proxmox-cluster https://$CONTROL_PLANE_IP:6443 --output-dir _out6. Apply the control plane node configuration
Now that we have our configuration files, we can begin by creating the control plane node configuration.
talosctl apply-config --insecure --nodes $CONTROL_PLANE_IP --file controlplane.yaml
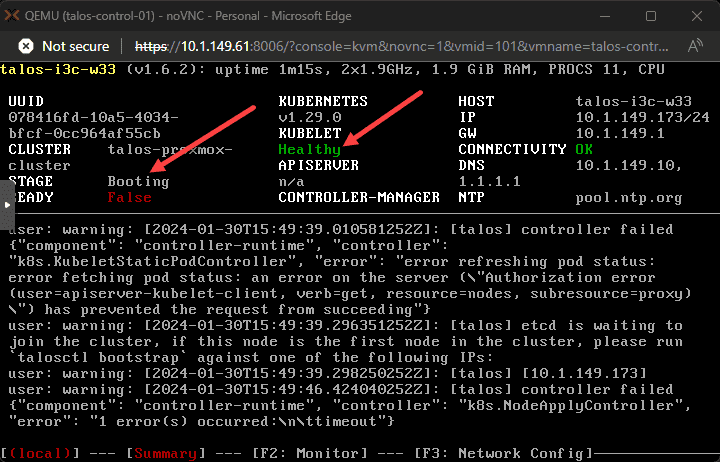
If you connect to the console of your control plane virtual machine in Proxmox, you should start to see it booting and configuring Kubernetes.
7. Bootstrap the cluster
After we have applied the controlplane.yaml configuration, we need to bootstrap the cluster to bring up the etcd configuration.
To bootstrap the cluster, we need to run a couple of commands. First, we need to set our TALOSCONFIG, endpoint, and node to point to the control plane node we have brought up.
export TALOSCONFIG="talosconfig"
talosctl config endpoint $CONTROL_PLANE_IP
talosctl config node $CONTROL_PLANE_IPNow we can run the command:
talos bootstrapOnce we bootstrap the cluster, we should eventually see everything come up with a green STATUS across the board.
Now we should be able to see that we have a control plane up and running with kubectl. First we need to retrieve the kubeconfig file:
talosctl kubeconfig .
You can also export the kubeconfig file as a variable:
export KUBECONFIG=kubeconfigNow we can run kubectl normally.
kubectl get nodesWe see we have our single control plane node up and running.
8. Apply the worker node configuration
Now, let’s get our worker node up and running. Power on your worker node virtual machine in Proxmox and boot from the ISO.
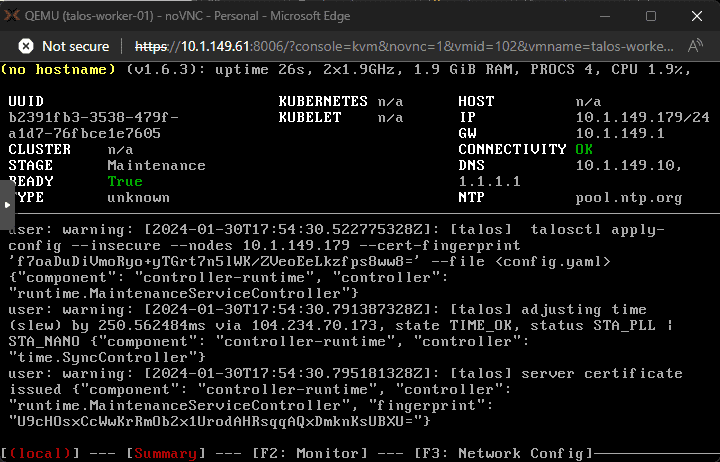
The process is the same for the worker node. We will note the IP address configured on the virtual machine and then apply the worker.yaml configuration to the worker node.
Let’s export the worker IP address as a variable and then apply the worker.yaml config using talosctl:
export WORKER_IP=10.1.149.179
talosctl apply-config --insecure --nodes $WORKER_IP --file worker.yaml
Applying the configuration:
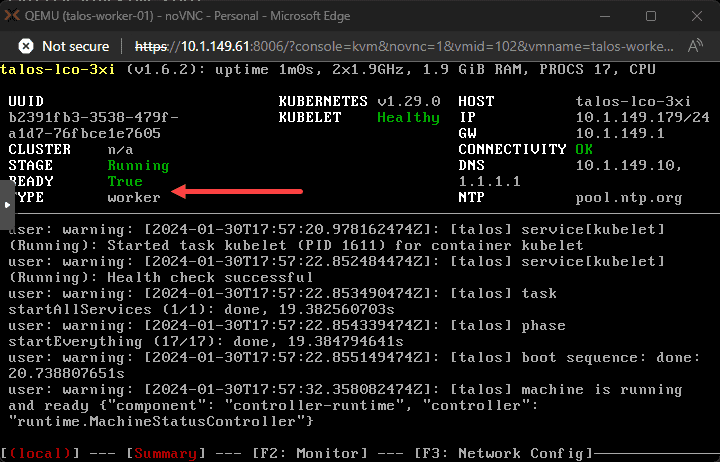
After applying the configuration, the worker node is provisioned and we see everything is up and running and the worker node is designated worker in the node type.
Now, we can run another kubectl get nodes and see both our control plane and worker nodes provisioned and in the READY state to run pods.
Frequently asked questions with Talos Linux Kubernetes
It provides a production container orchestration engine that allows running containers with scalability, performance, compatibility, virtualized networking, using monitoring solutions, and many other benefits. You can think of Kubernetes as the hypervisor setup of the container world that schedules and allows recovery from failures.
Sidero Metal allows running Kubernetes on bare metal. It streamlines provisioning and management and ensures that physical servers are efficiently utilized. The combination of Sidero Metal and Talos Linux enables running your Kubernetes environment efficiently and securely.
Mutual TLS is a core feature of Talos Linux’s security framework. This protocol makes sure both client and server authenticate with each other, creating a secure communication channel. In Kubernetes environments, where secure data transmission is critical, mutual TLS provides an additional layer of security.
Talos maintains a very lean installation that only installs what is required as a Kubernetes operating system. The focus is on reducing the overall attack surface and vulnerabilities by minimizing unnecessary components. Managing a Talos Linux Kubernetes cluster can only be done using the API, not SSH, or other more dangerous types of access. You can also manage Talos Linux Kubernetes using infrastructure as code solutions like Terraform.
Integrating Talos Linux with Proxmox is easy to accomplish by simply spinning up virtual machines to house the Talos installations. You will spin up at a minimum of (2) virtual machines. One will be for the control plane and one will be a worker.
Running Kubernetes on Proxmox with Talos Linux helps with security, configurability, and automation. It helps you to configure your Kubernetes clusters according to best practices for security and otherwise using industry standards.
The concept of immutable infrastructure, central to Talos Linux, offers significant advantages in running Kubernetes. It helps to avoid configuration drive by using API-driven configuration processes that allow treating your clusters as “cattle” rather than “pets”.
Wrapping up Proxmox Kubernetes install with Talos Linux
Talos Linux is a great platform to use for building out your Kubernetes clusters across many different virtualization platforms. Talos Linux provides an extremely small, efficient, and secure environment to run your Kubernetes clusters on. It eliminates the need for SSH access and everything is configured using an API. Hopefully, this walkthrough will help any who want to start playing around with Talos Linux in their Proxmox home lab environment to quickly get up to speed.









0 Comments